


Permanent Rush (or PermaRush, as we’re too busy to type out two words) is my 2016 Spring/Summer look. Throughout the week it’s an endless ticking off things on a to-do list, of laundry, of commuting, of forgetting your lunch break, of housework, of researching builders and decorators, of essay writing, of life admin and of perfecting the messy bun (because I do not have time to apply any type of styling prowess on my mop*) (*note to self: research shorter hair cuts)
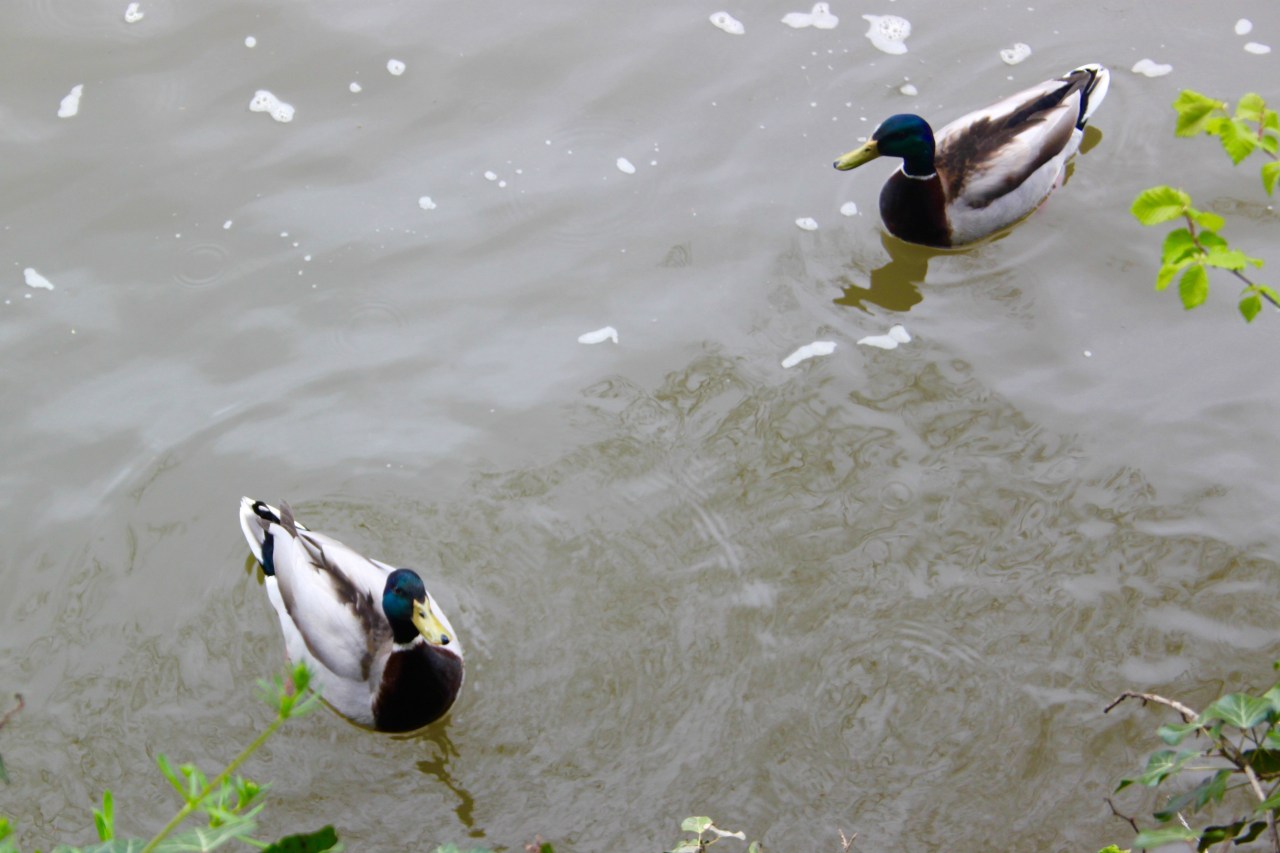
And I’m pretty cool with that rushing around business. But the moment it starts encroaching on my weekend then we have problems. Because weekends aren’t for rushing. They are for sitting down with cups of tea and a book. For taking your time sanding down your staircase (decorating is my life now FYI) and not caring if you can’t get it done by the end of the day. For walking places. For cat videos. For wine.
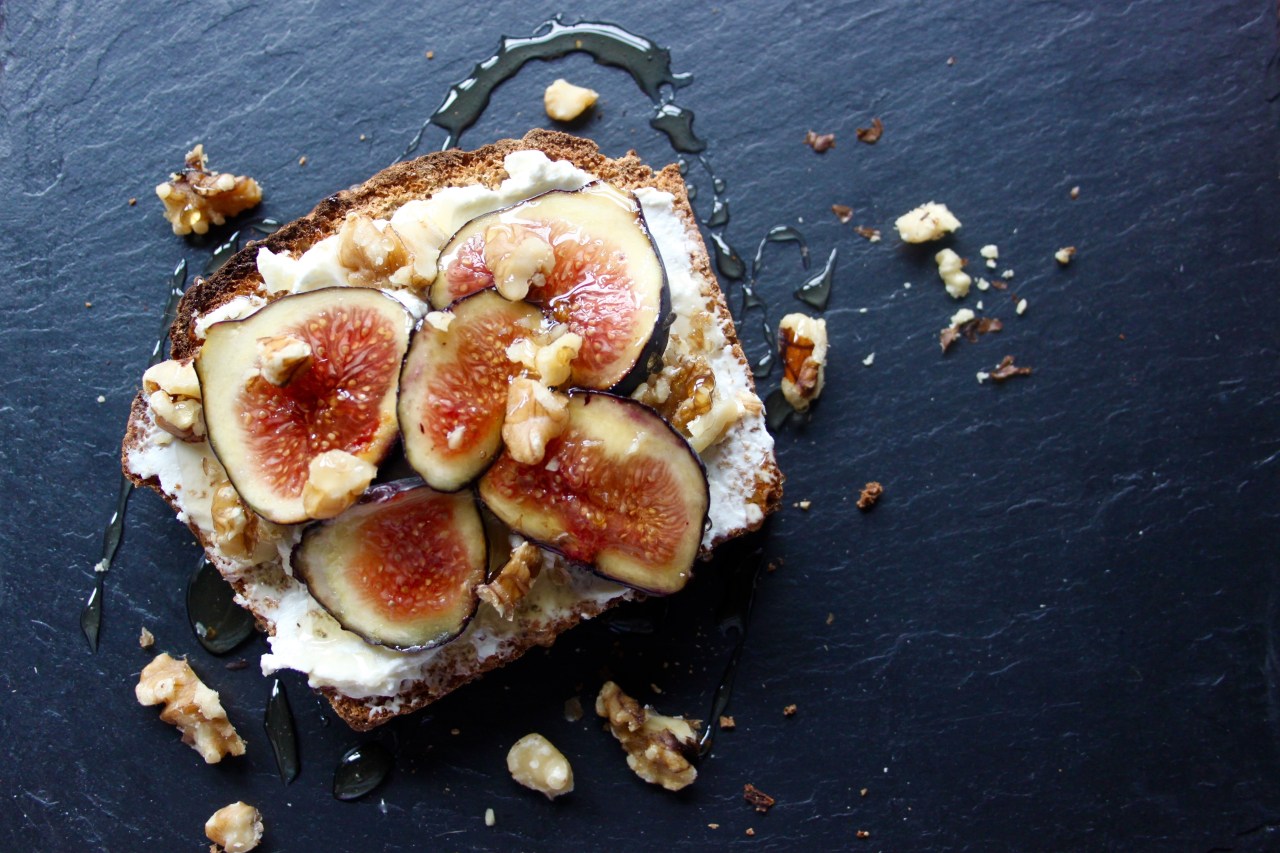
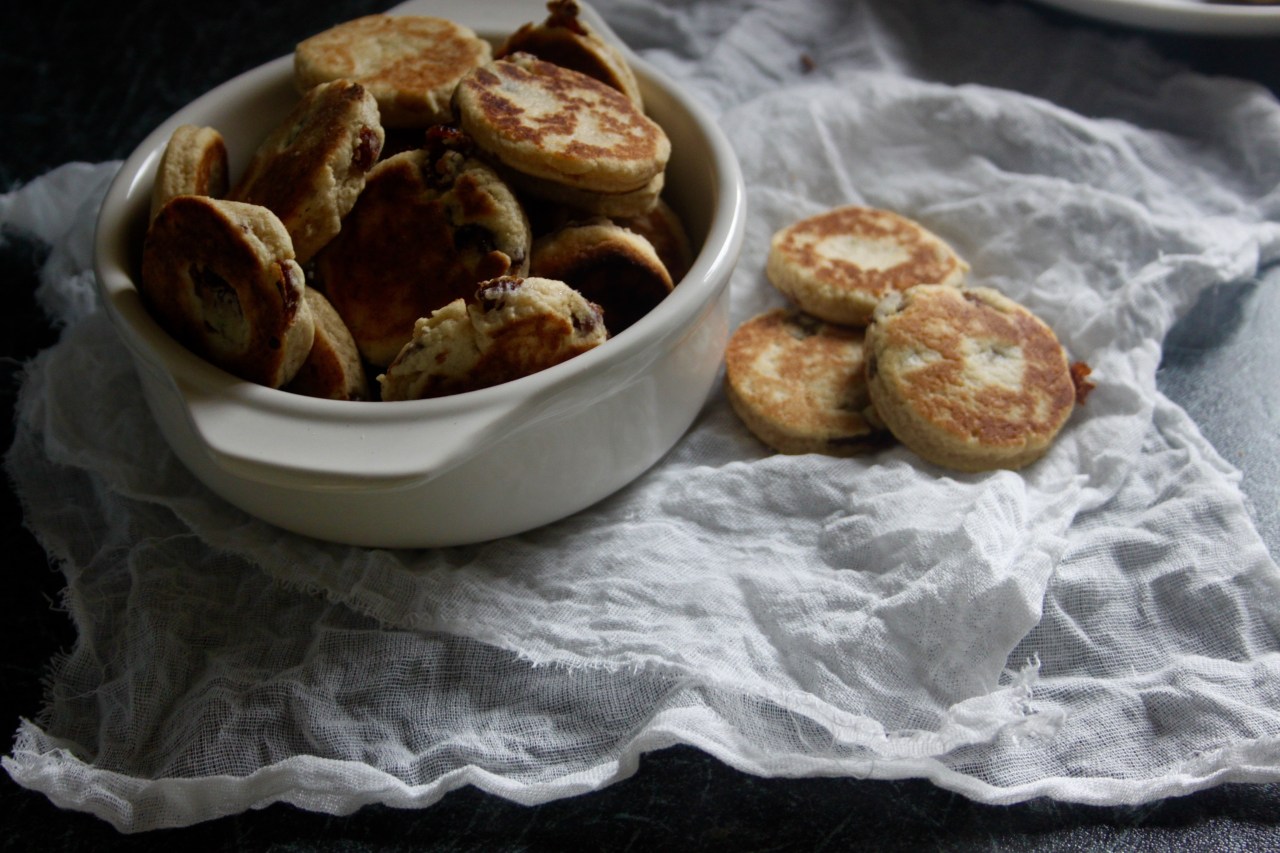
This is the ultimate slow down addition to your next brunch.
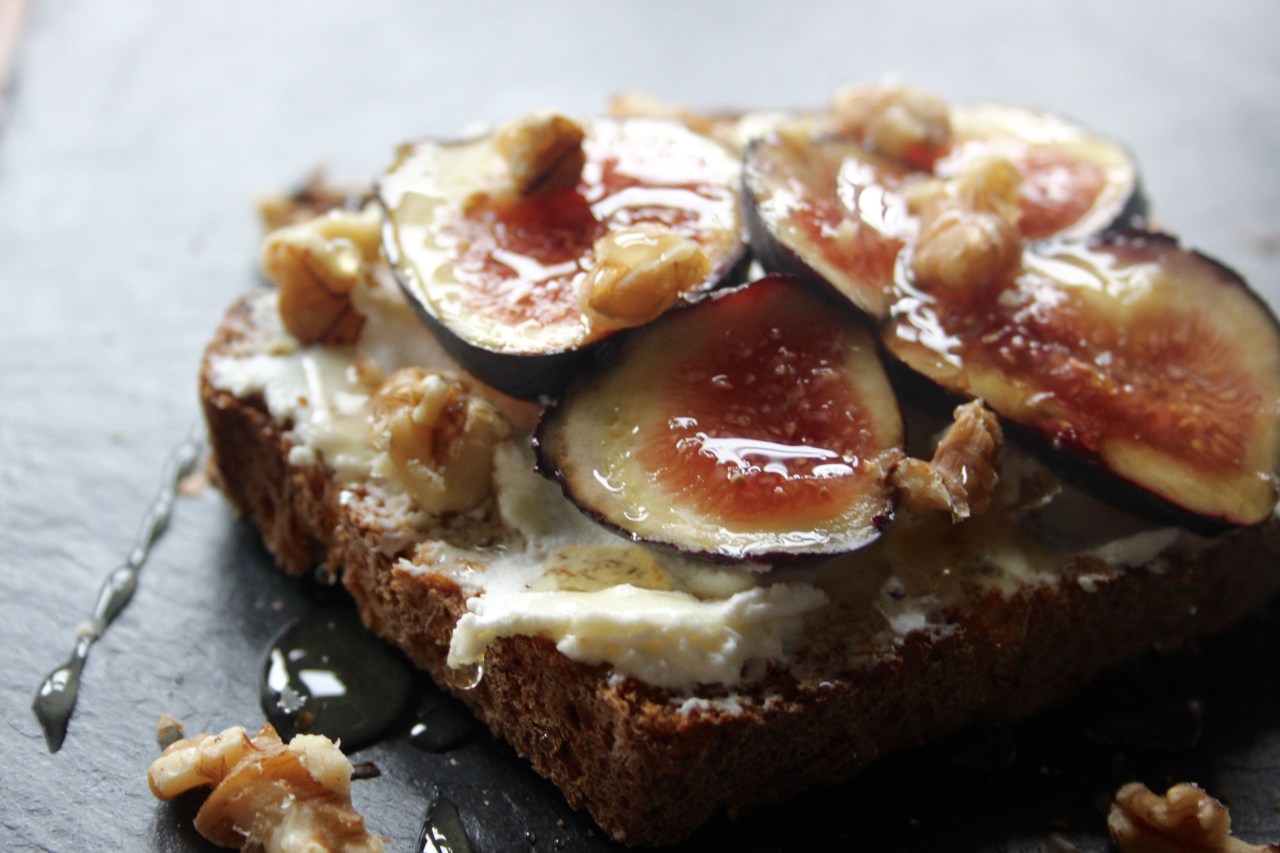
Sweetened, creamy labneh on homemade bread toast with fresh figs, walnuts and honey.

Ingredients
For the labneh:
500gr natural or Greek yoghurt
25gr caster sugar
And everything else you’ll need:
Bread – seeded, multigrain bread is great for this
Figs – I used about one per slice
Walnuts – Optional, I used about two walnut halves per slice
Honey – As much as you want
First we’ll crack on with labneh, which is simply strained yoghurt. We’re going to take some of the water out of the yoghurt to make it thicker. Mix the yoghurt with the sugar well. Place a sieve over a large bowl, and line it with two layers of cheesecloth (or two layers of a new jay cloth (if I’m using a jay cloth, I take a new one out of the packet and then give it a good rinse out under the hottest water your hands can handle from your tap, squeeze it out, repeat with the hot water and the wrong out as much water as you can)
Pour your sweetened yoghurt into the lined sieve and gather up the corners and tie them together with some string. The yoghurt itself won’t soak through but almost straight away you’ll notice a clearish liquid dripping out. This is whey. WHEY COOL, amirite?
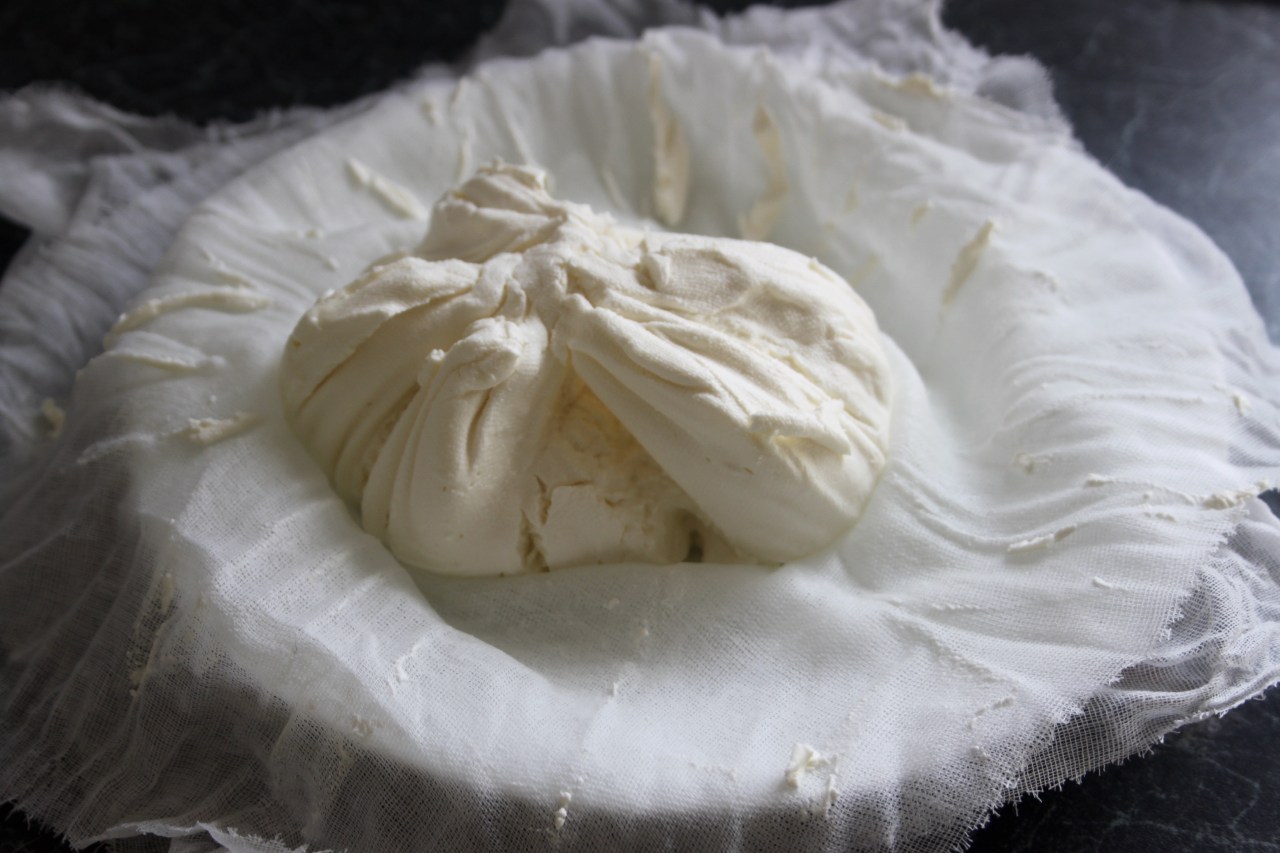
You need to suspend this over the bowl, I tied mine to the middle of a wooden spoon and suspended it over the bowl so there was plenty of room under it and it wouldn’t sit in the dripped out whey. Stick this in the fridge, or leave in a cool part of your kitchen overnight. The longer you leave it, the firmer it will be. I gave mine about nine hours so it was still soft, creamy and spreadable.
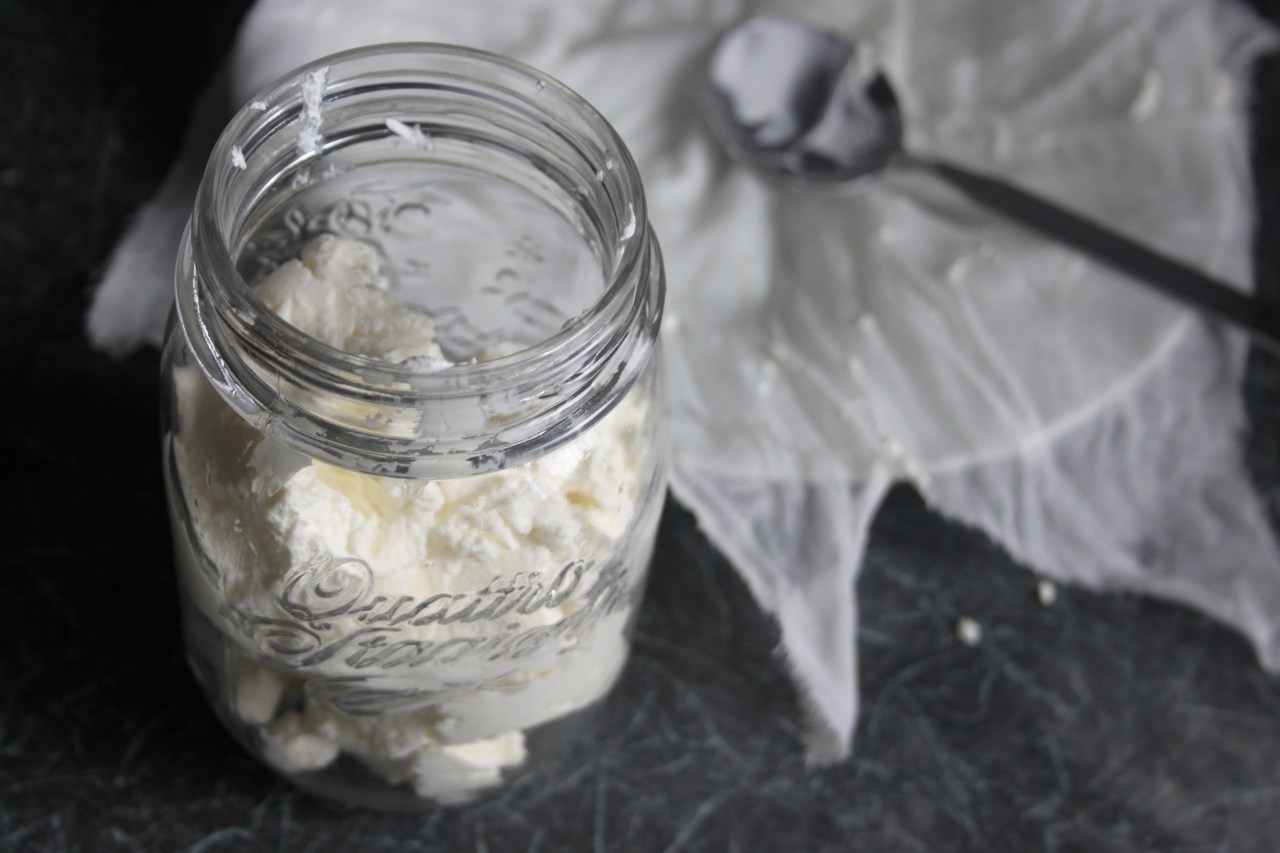
Unwrap your labneh carefully. It’s good to use straight away but if you put it in a sterilised jar, it’ll last for two weeks or so.
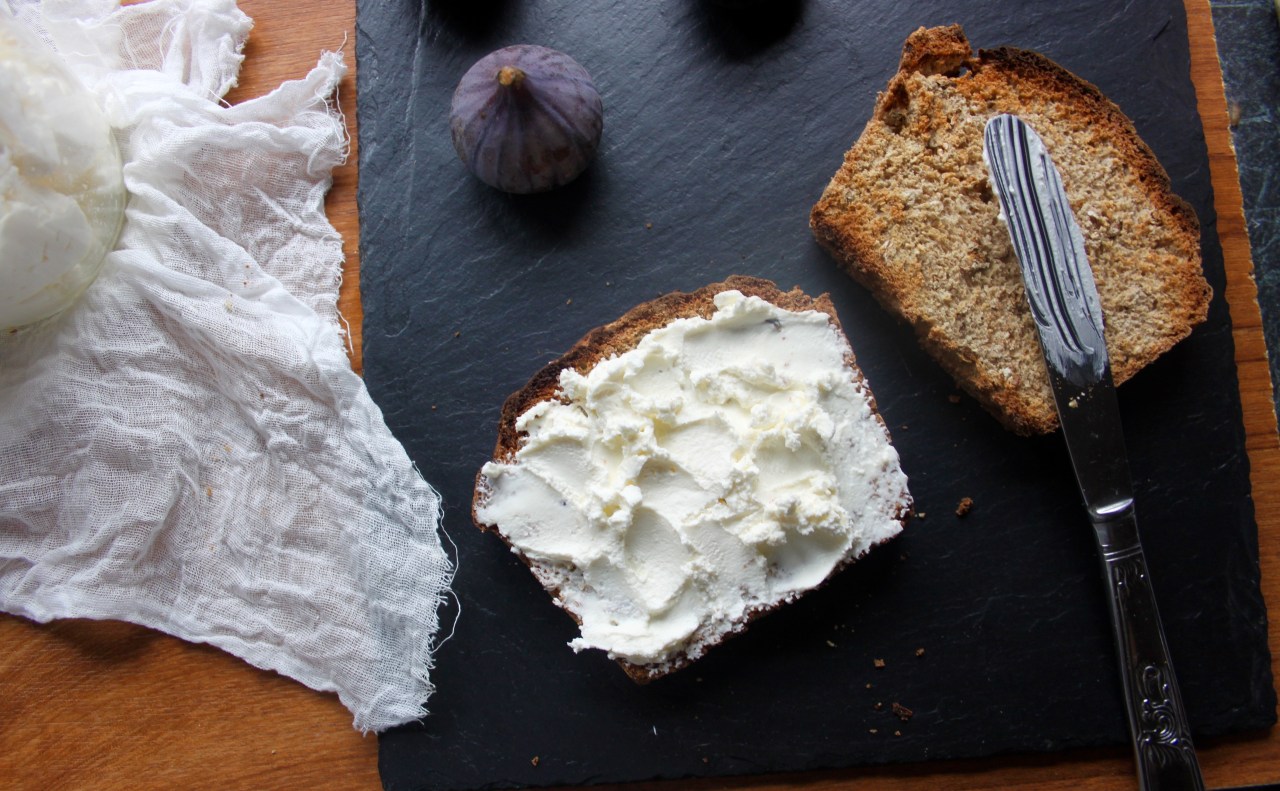
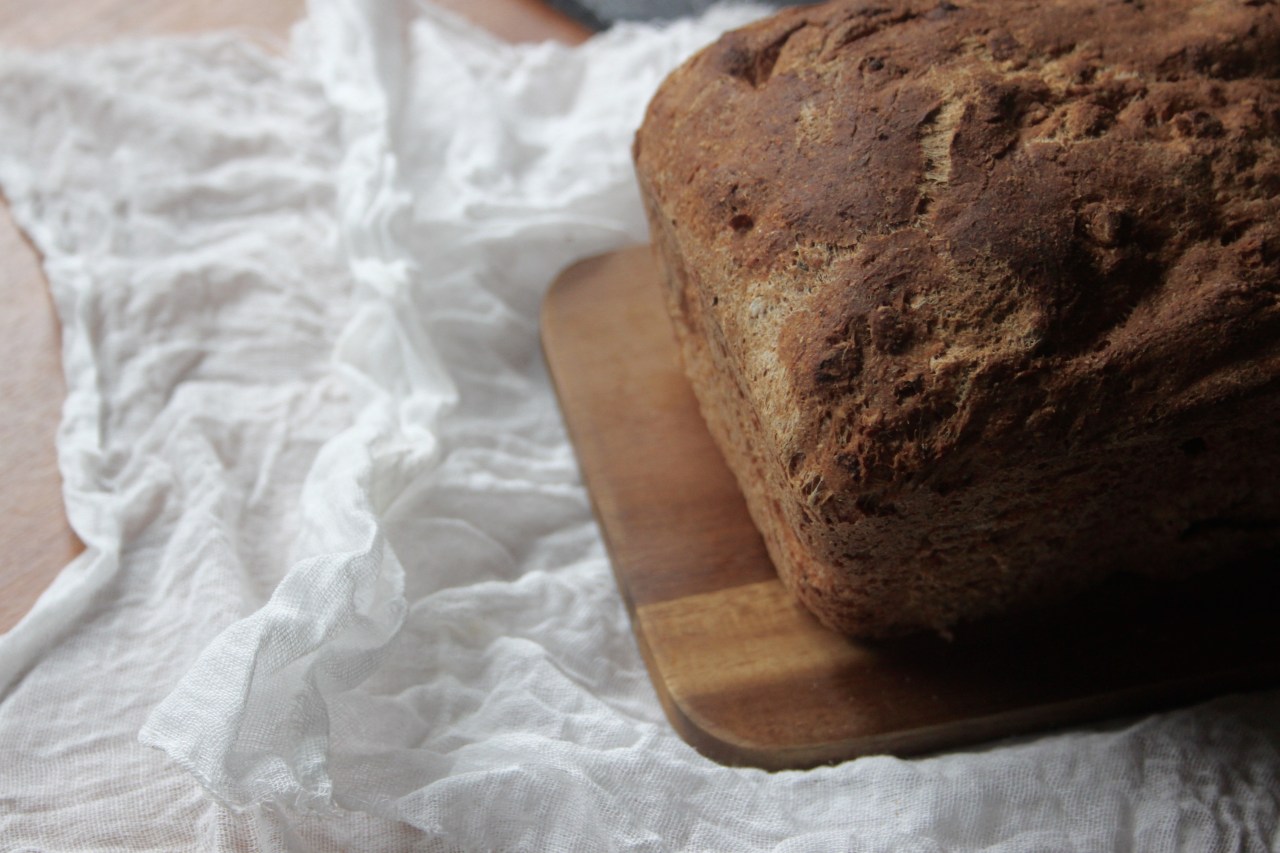
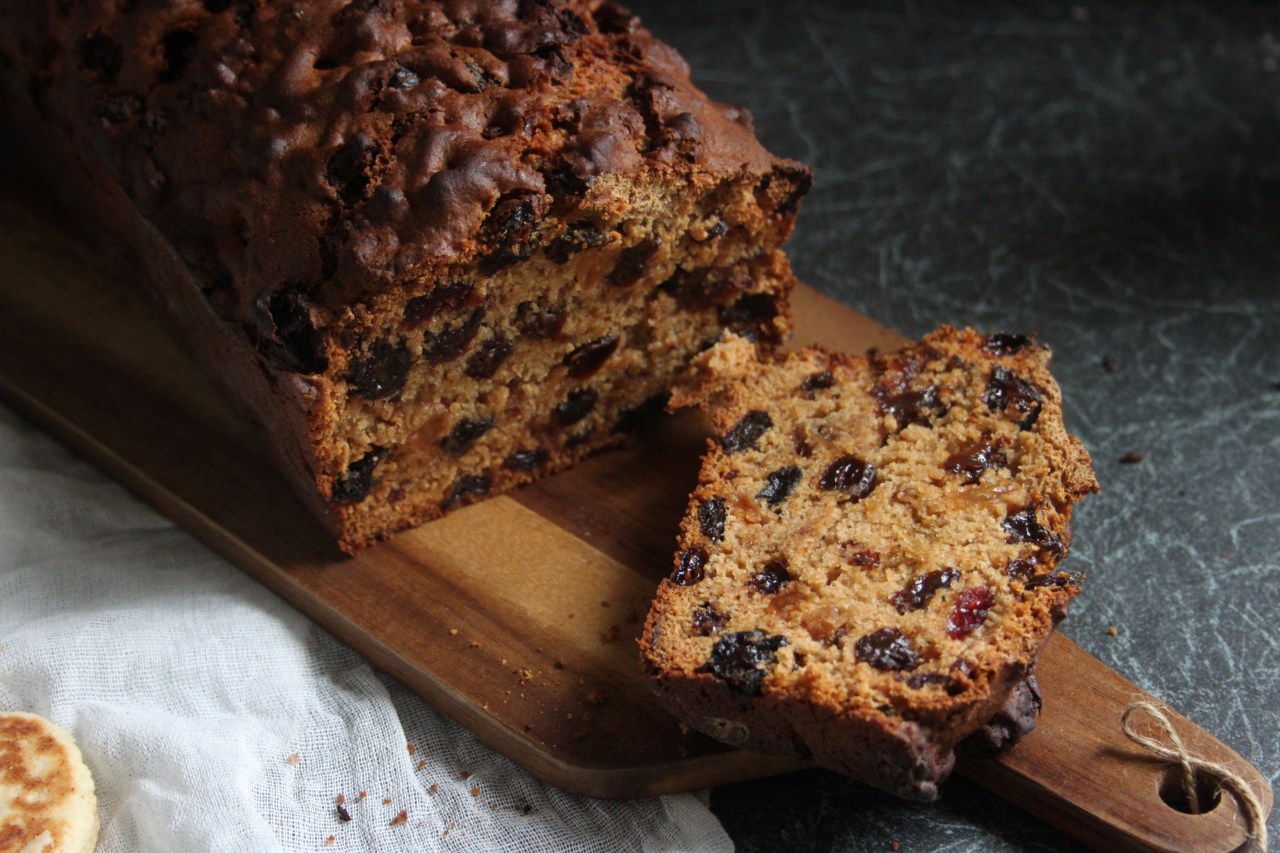
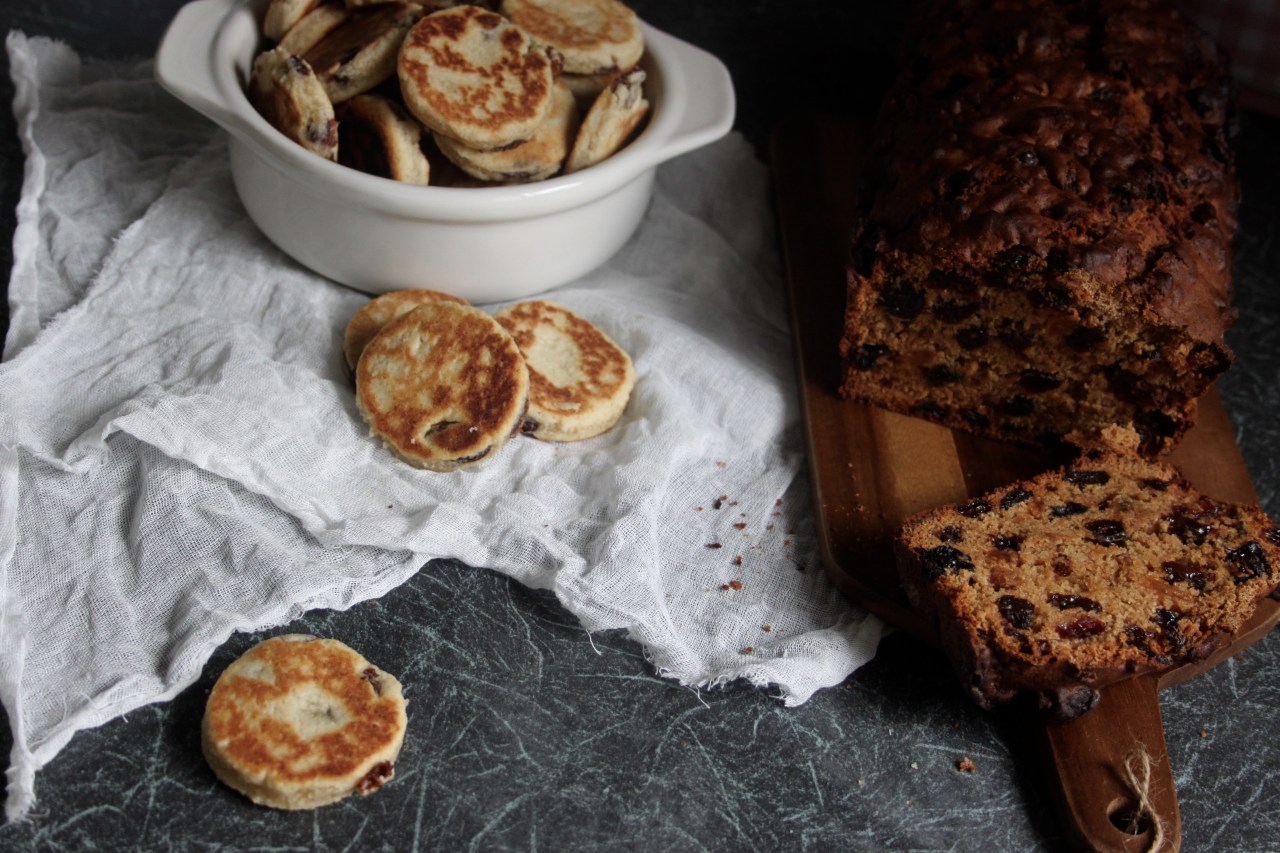
Toast some bread. I made a loaf of four seed whole grain bread. Spread on your labneh, top with the sliced figs, sprinkle on your walnuts, drizzle on your honey, enjoy your weekend

 I follow those pages on Facebook and those Twitter feeds that show off amazing food from around the world. The bratwurst of the German Christmas markets, the bagels of Brooklyn, those chocolate McDonald’s fries from Japan, Hong Kong street food tours and that Swiss raclette.
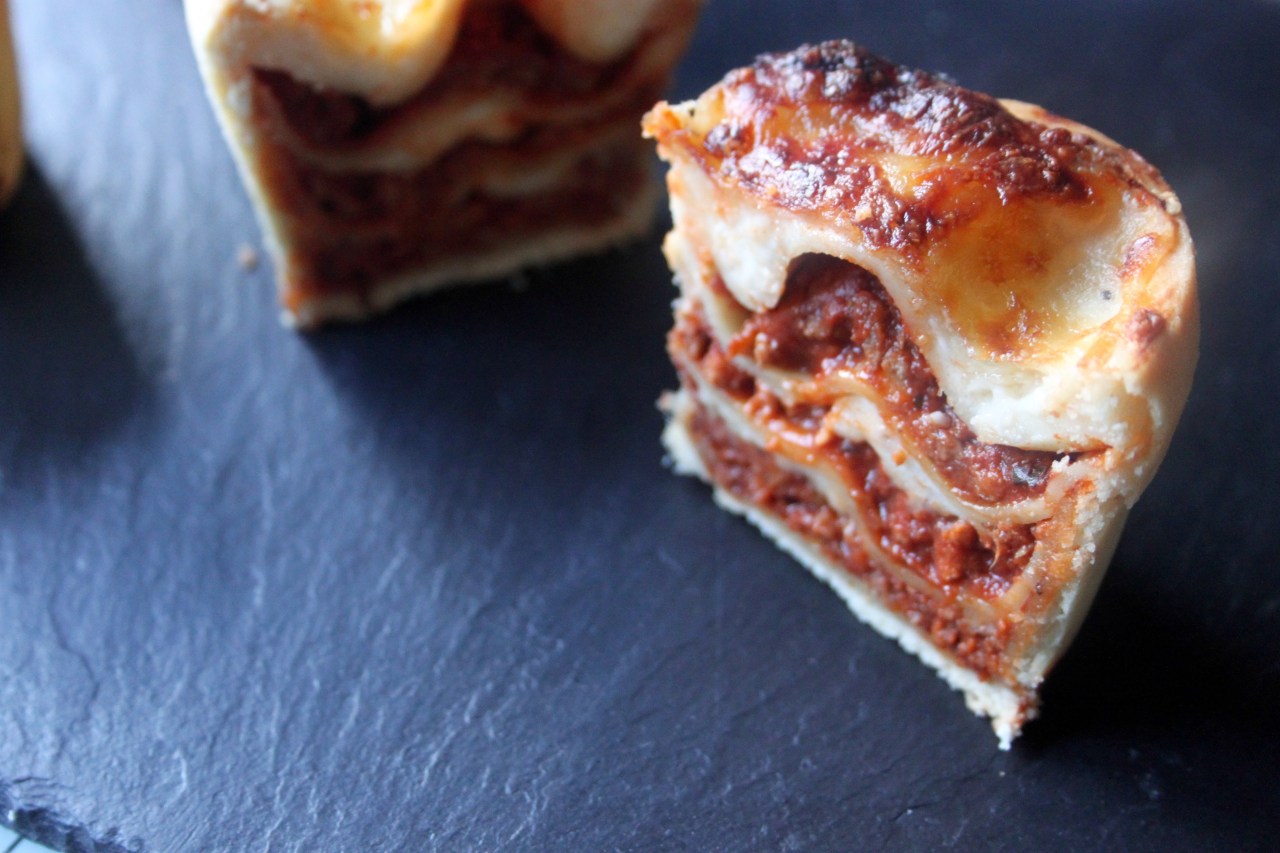
I get hungry and all wanderlusty at the same time. The one that has really stuck with me though was something I saw on Reddit – lasagne pies. Like a little lasagne encased in pastry. Problem was, they were in New Zealand. And I’m a few thousand miles (eleven and a half thousand) away from New Zealand.
Only option was to DIY them. Here are lasagne pies. Pizza Cake‘s fancier brother.
Ingredients
Meat Sauce
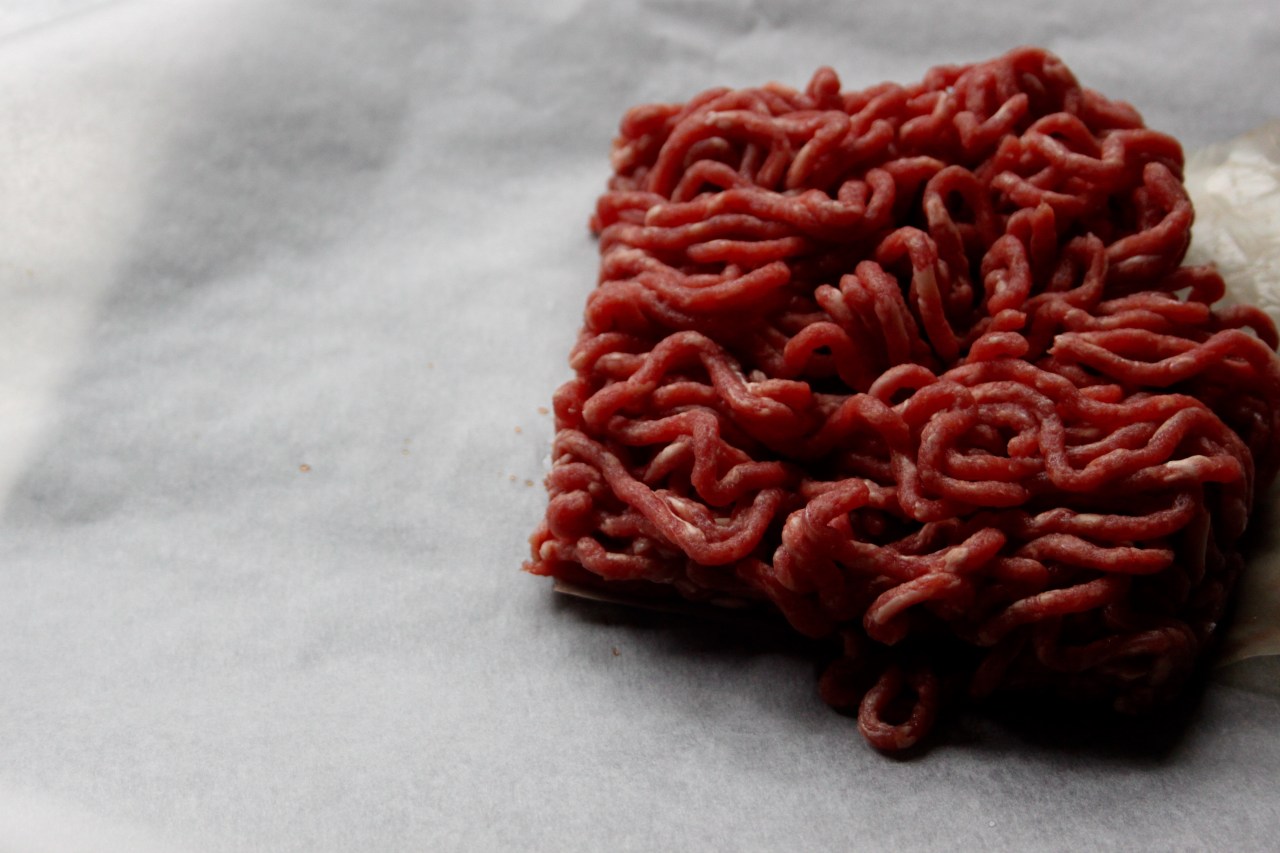
250gr minced beef
1/2 small onion
2 cloves garlic
1 beef stock cube
1tbsp tomato puree
Splash of red wine
1 can of passata (500gr can)(or, a can of chopped tomatoes)
1/2 tsp of dried basil, sage and oregano
Salt and pepper
White Sauce
20gr butter
20gr plain flour
200ml semi-skimmed milk
Salt and pepper
Pastry
110gr cold butter
250gr plain flour
Pinch of salt
Cold water
You will also need:
Six dried lasagne sheets
One ball of mozerella, sliced finely
Six tablespoons of parmesan
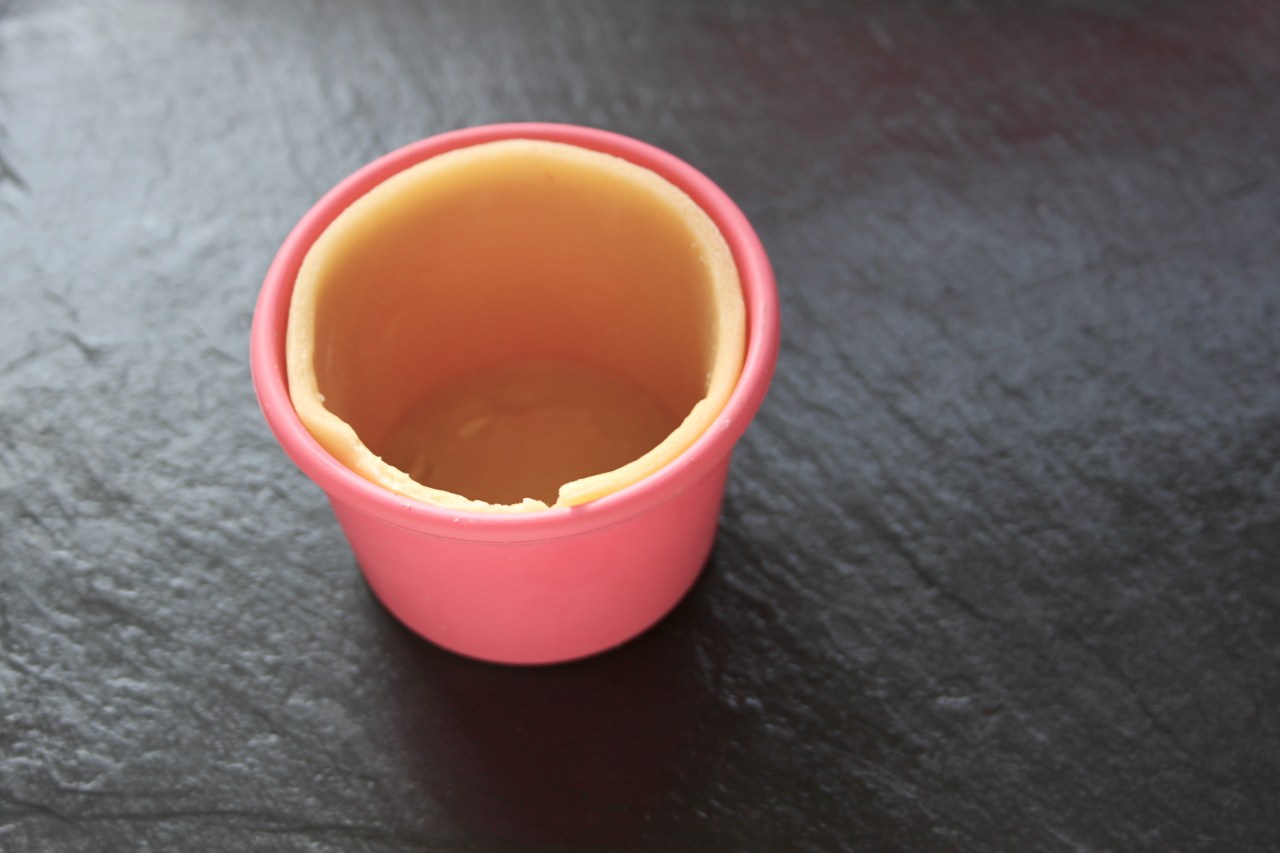
Small pie tins. I used silicon baking cups that were 5cm high, with a base diameter of 6cm.
A pastry brush

Method
1, There are a lot of component parts to put together before we start making the pies, so we’re going to start off with the meat sauce.
2, In a frying pan over a medium heat, fry off the beef mince until nicely browned (straining off any excess liquid). Add in the onion and garlic and cook these down until they are soft.
3, Crumble in the beef stock cube and add in the tomato puree. Stir this well to combine and splash in your red wine. Next, add in the passata (or chopped tomatoes), the herbs and seasoning (to taste) stir well. This needs to reduce down to a thick sauce over a low heat. Stir occasionally to keep the bottom from catching. When this is ready, check the seasoning, transfer into a bowl, cover and leave to cool completely.
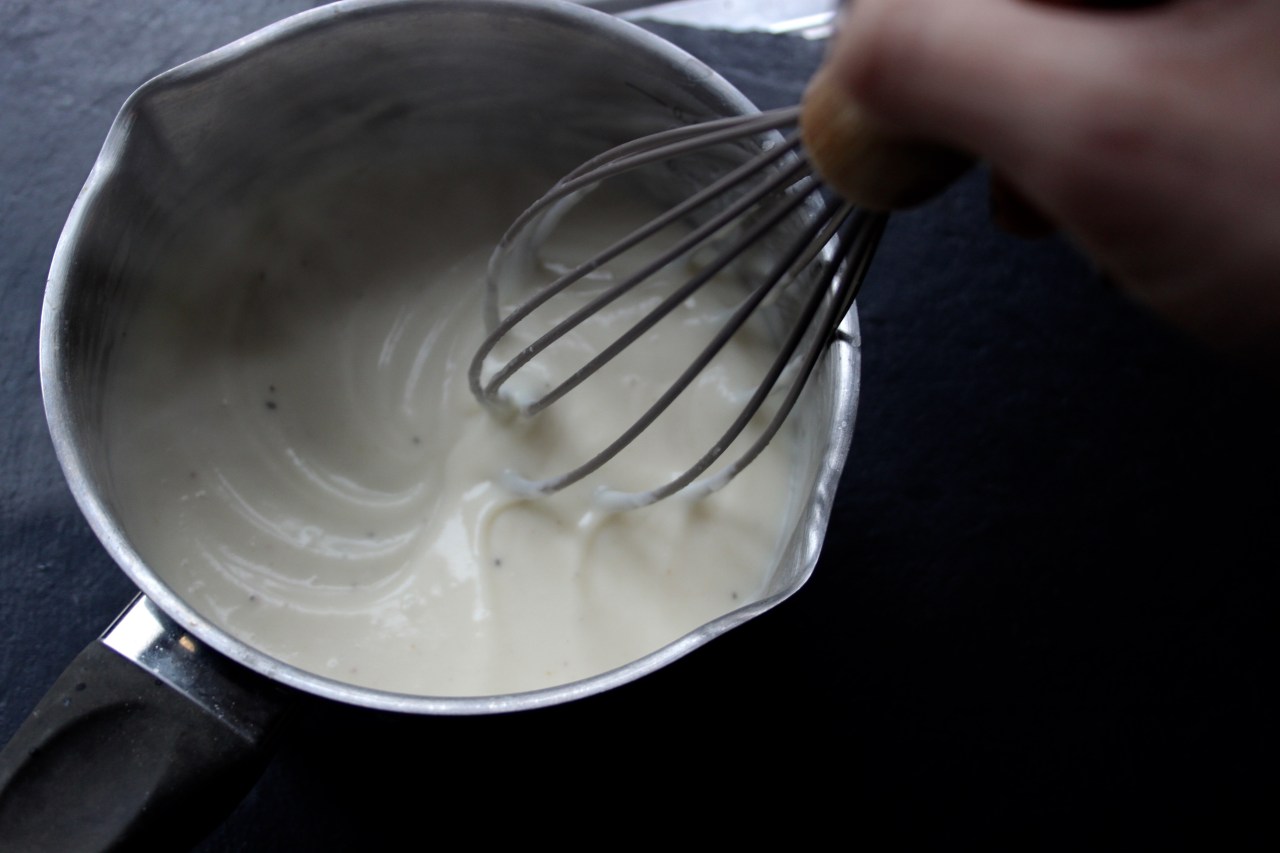
4, Next, we’re going to move onto the white sauce. In a small saucepan, over a medium heat again, melt the butter. Add in the flour and whisk together well for a minute to cook the flour a little. Add in half of the milk and whisk vigorously until you have a lump free sauce. Add in the rest of the milk and whisk continuously until the sauce thickens.
5, This, again, needs to be quite thick and it needs to be the consistency of softly whipped double cream. The whisk should leave a defined trail in the sauce when you lift it. Pop this into another bowl, cover and leave to cool completely again.
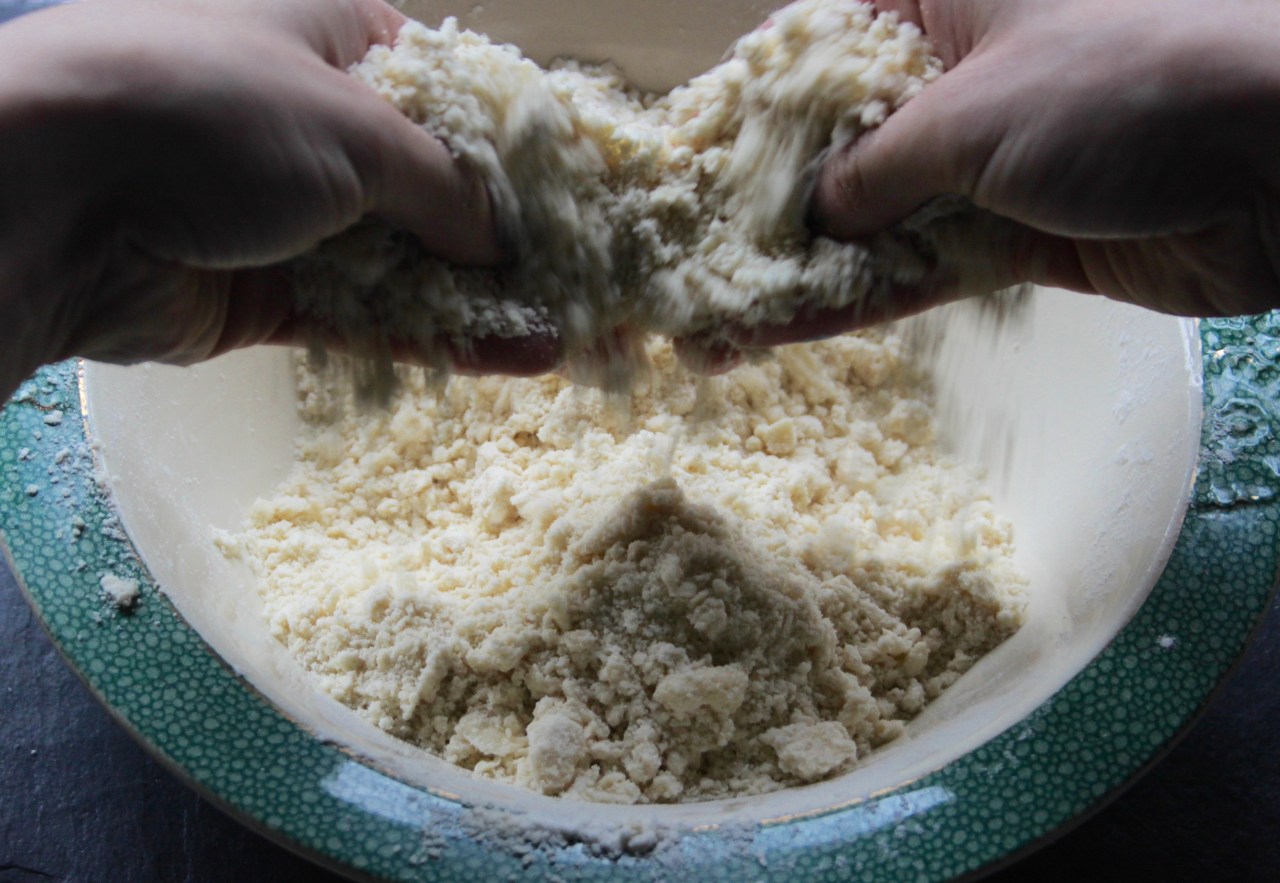
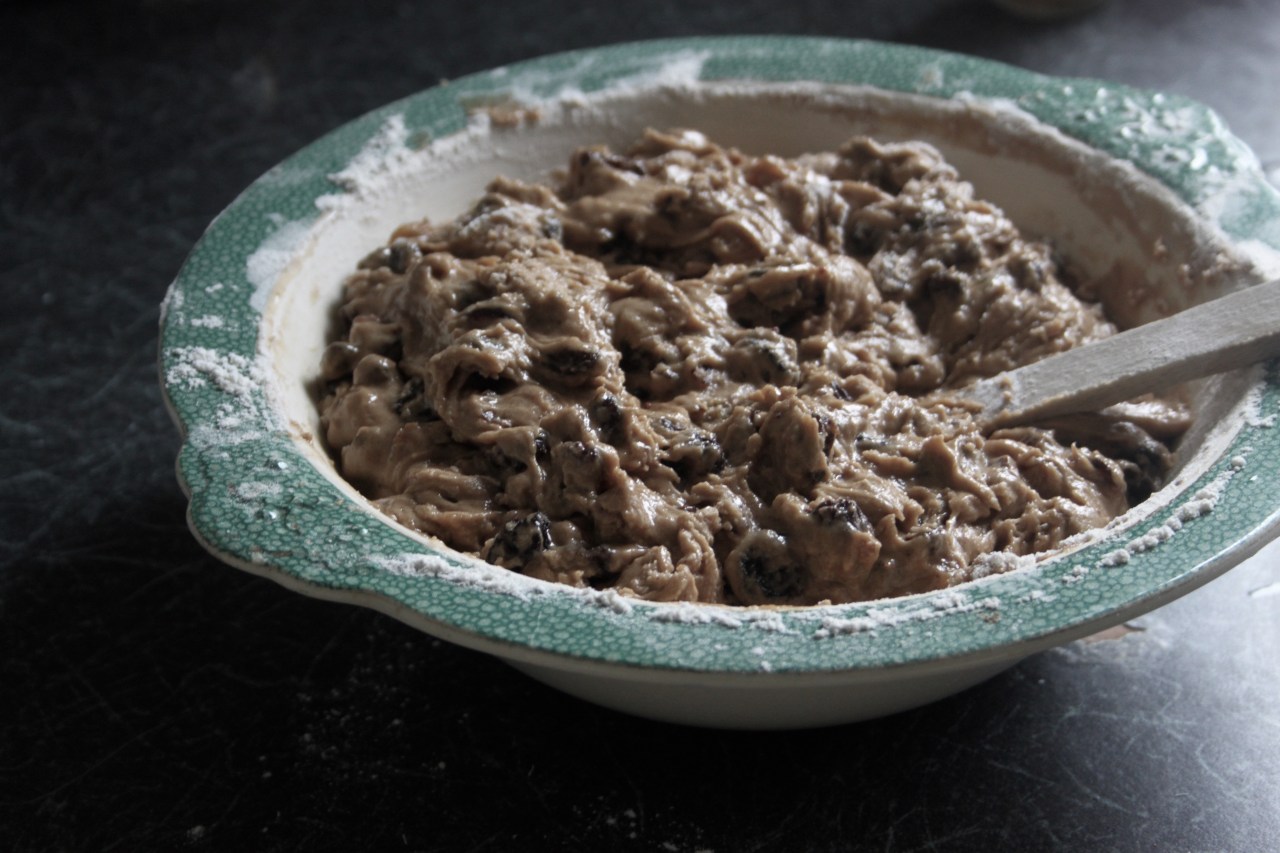
6, Moving onto the pastry, cut the butter into cubes and put in a big mixing bowl with the plain flour and a pinch of salt. Rub the butter into the flour until you have a fine breadcrumb texture. Add in cold water, a tablespoon at a time, to bring it into a soft but not sticky dough ball. Add in more flour if its a bit sticky. Wrap this in clingfilm and pop in the fridge for 30 minutes before use.
8, You can make all of these components in advance, and refrigerate them all. When you are ready to build, bring everything out of the fridge and bring up to room temperature.
9, Last part of the prep is the lasagne sheets. Fill a large saucepan with water and bring to the boil with a couple of pinches of salt. Slide in the lasagne sheets, a couple at a time, and cook until they are al-dente. Put them straight into a bowl of cold water so they stop cooking and don’t stick to each other.
10, When you are ready, preheat your oven to 200o/c, roll out the pastry to 3mm thick. Cut six rounds, out that are the same diameter as the bottom of your individual tins and put these into the bottom of the tins. Using a pastry brush, brush this pastry disc with water. Then cut out six long rectangle strips that are the circumference and height of your tins. Put these into your tins and pinch the edges together along the seams, up the side and around the bottoms.
11, Move back to the lasagne sheets, fish them out of the water, pat dry on a little kitchen paper, and cut three rounds, the same diameter as the pie tins, out of each sheet and pop these onto some kitchen paper, in one layer. Try not to overlap them, they can get sticky.
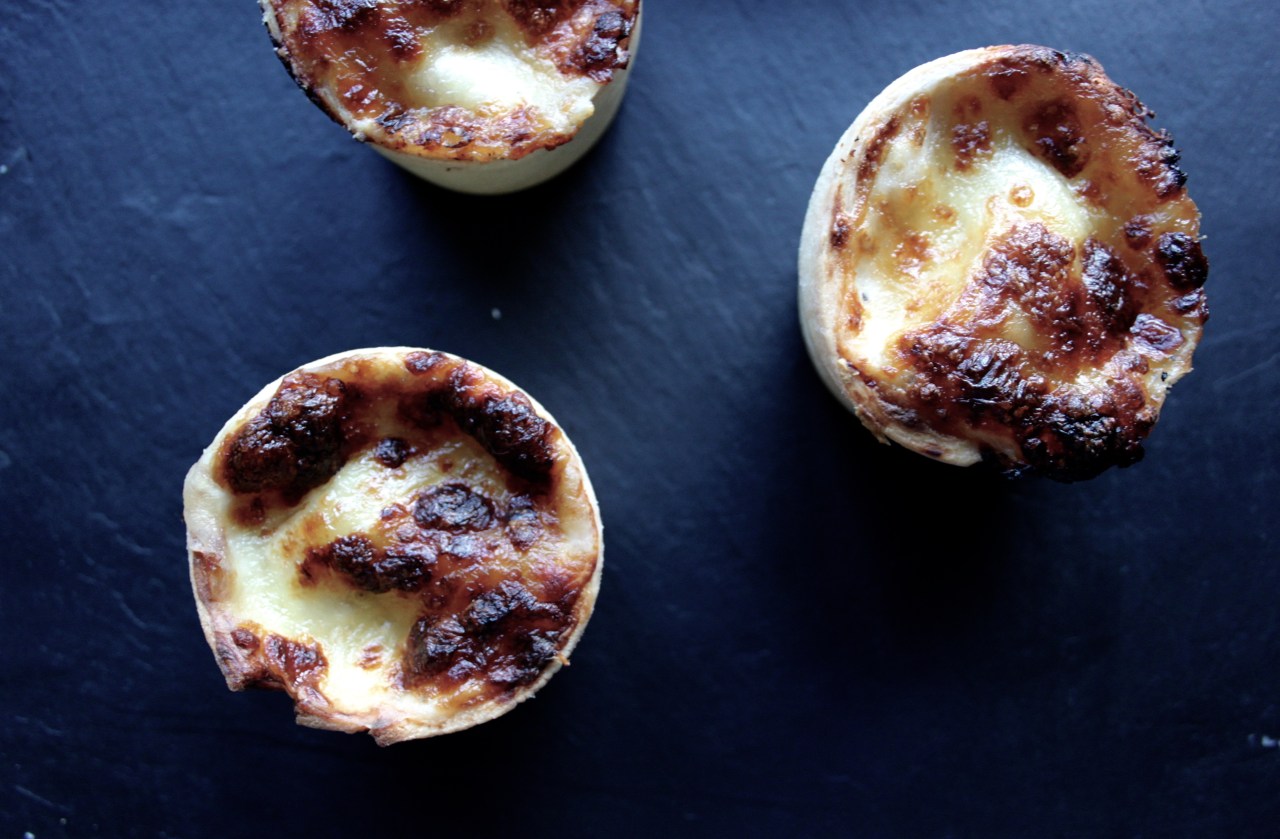
12, Now you are ready to fill!
13, We’re going to layer them like this: meat sauce, blob of white sauce, lasagne round, meat sauce, blob of white sauce, lasagne sheet, meat sauce, lasagne sheet, white sauce, parmesan, mozzarella. I portioned up each of my components, into six equal portions to make sure they were even.


14, Spread the top layer of white sauce over the top of the pie completely, sprinkle over the parmesan and top with mozzarella.
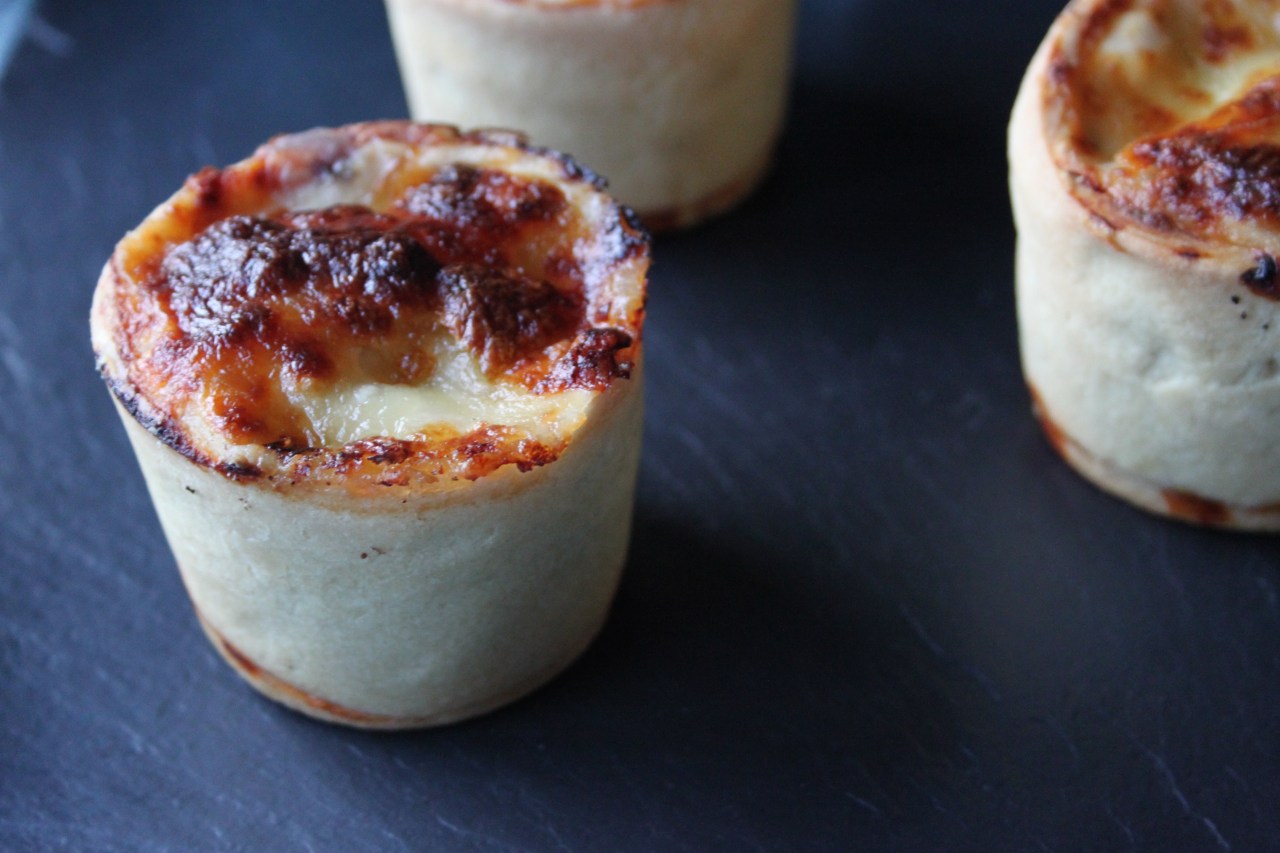
15, Put the filled pies onto a baking sheet and bake for 25-30minutes or until the cheese is golden brown and the pies are bubbling and hot through.
16, Cool slightly before unmoulding. Eat warm or cold.