Lemon Thyme Pets de Nonne 5

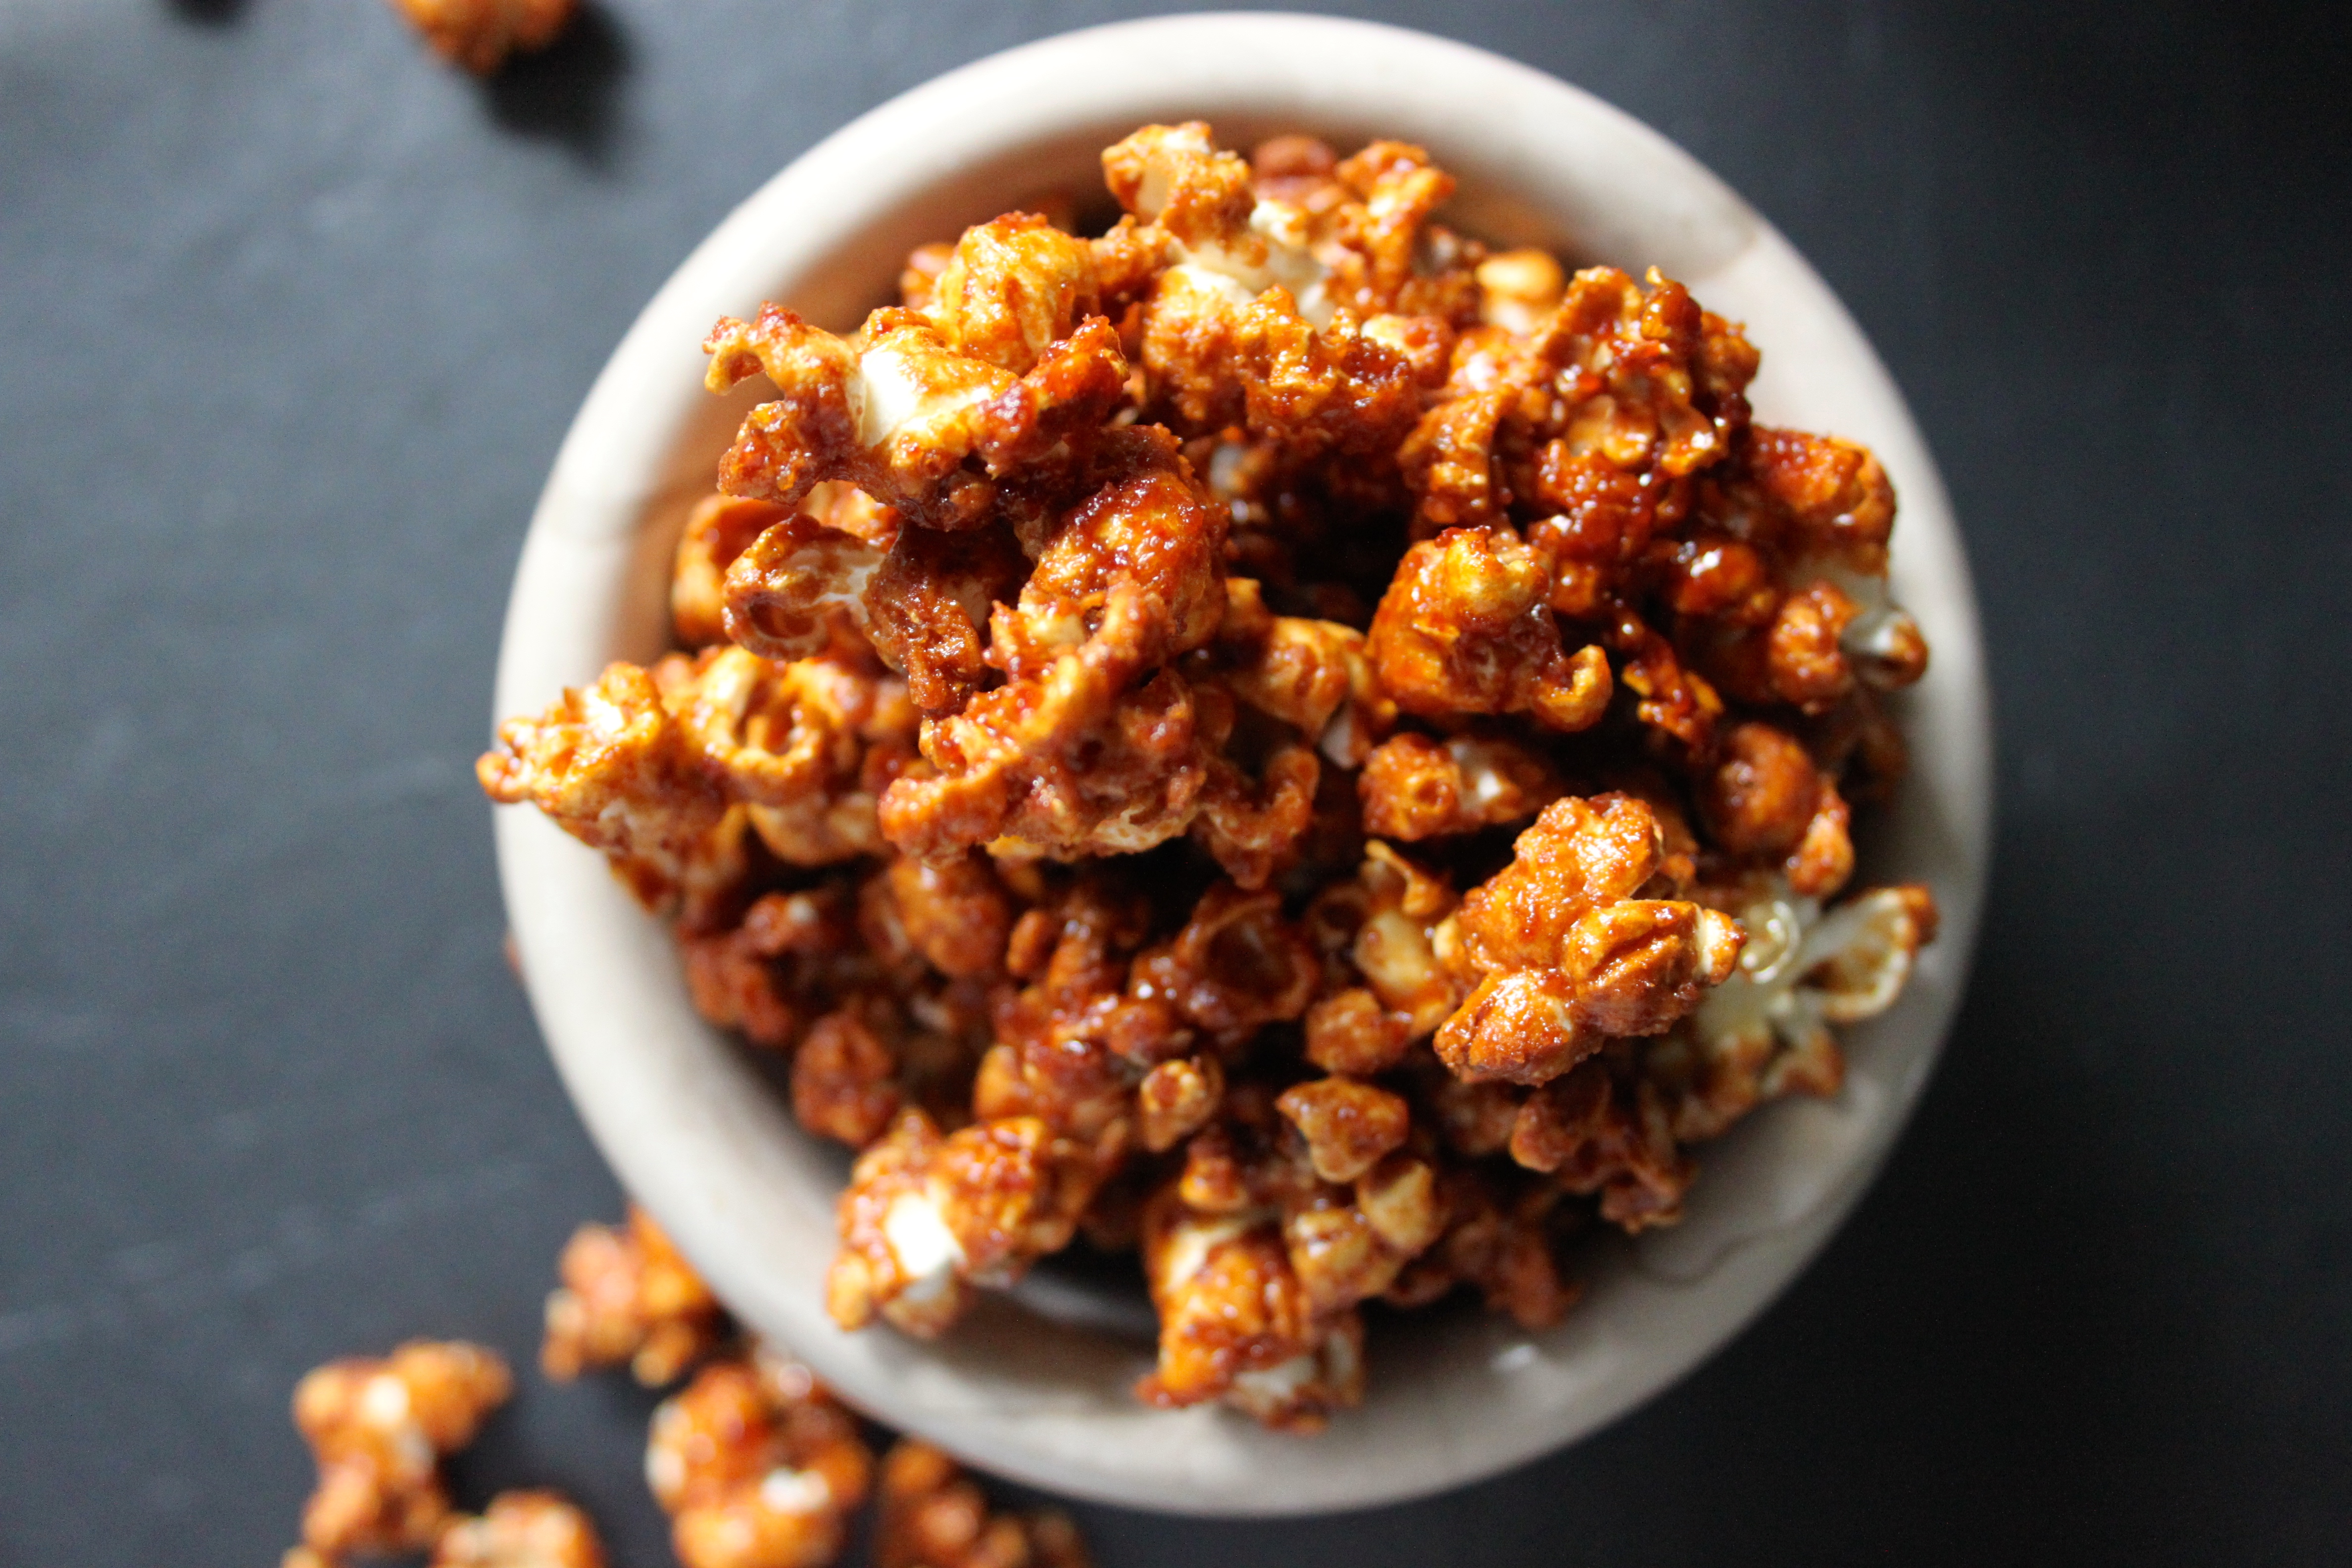
“What’s you favourite type of food, Hannah?”

Oh, buddy. You just opened a can of worms. I could launch into a spiel about my love of slow cooked cassoulets with confited duck legs and Toulouse sausages.  I could pitch into gnocchi and rich tomato sauces and pesto and carbonara and risotto and thin based pizzas.  If you caught me on a virtuous day, I might even tell you that I actually enjoy eating kale and quinoa, because I do (haters gonna hate…)

Lemon Thyme Pets de Nonne 1

I could tell you about the dumplings, the fluffiest egg fried rice and killer crispy shredded beef my local Chinese takeaway has down to tea. You know how much I love any thing carb based.  I could extoll the virtues of my mother’s roast lamb, mince and dumplings and the lemon meringue pie that one of my sisters and I have come to physical bouts of violence over.  I could wax lyrical over the minty yoghurt dips and saag aloo from the gods that our favourite Indian takeaway does. I could go on and on.

But most days, I can answer this question with one word.

Lemon Thyme Pets de Nonne 6

One word

“Fried”

These are Pets de Nonne.  French deep fried choux pastry dough.  They are light and airy and I’ve added lemon thyme to perfume them ever so slightly and kick them up a notch from the plain and ordinary.  Pets de Nonne’s literal translation into English is “Nun’s Farts”. Giggle.

Lemon Thyme Pets de Nonne 4

Serves two

Ingredients

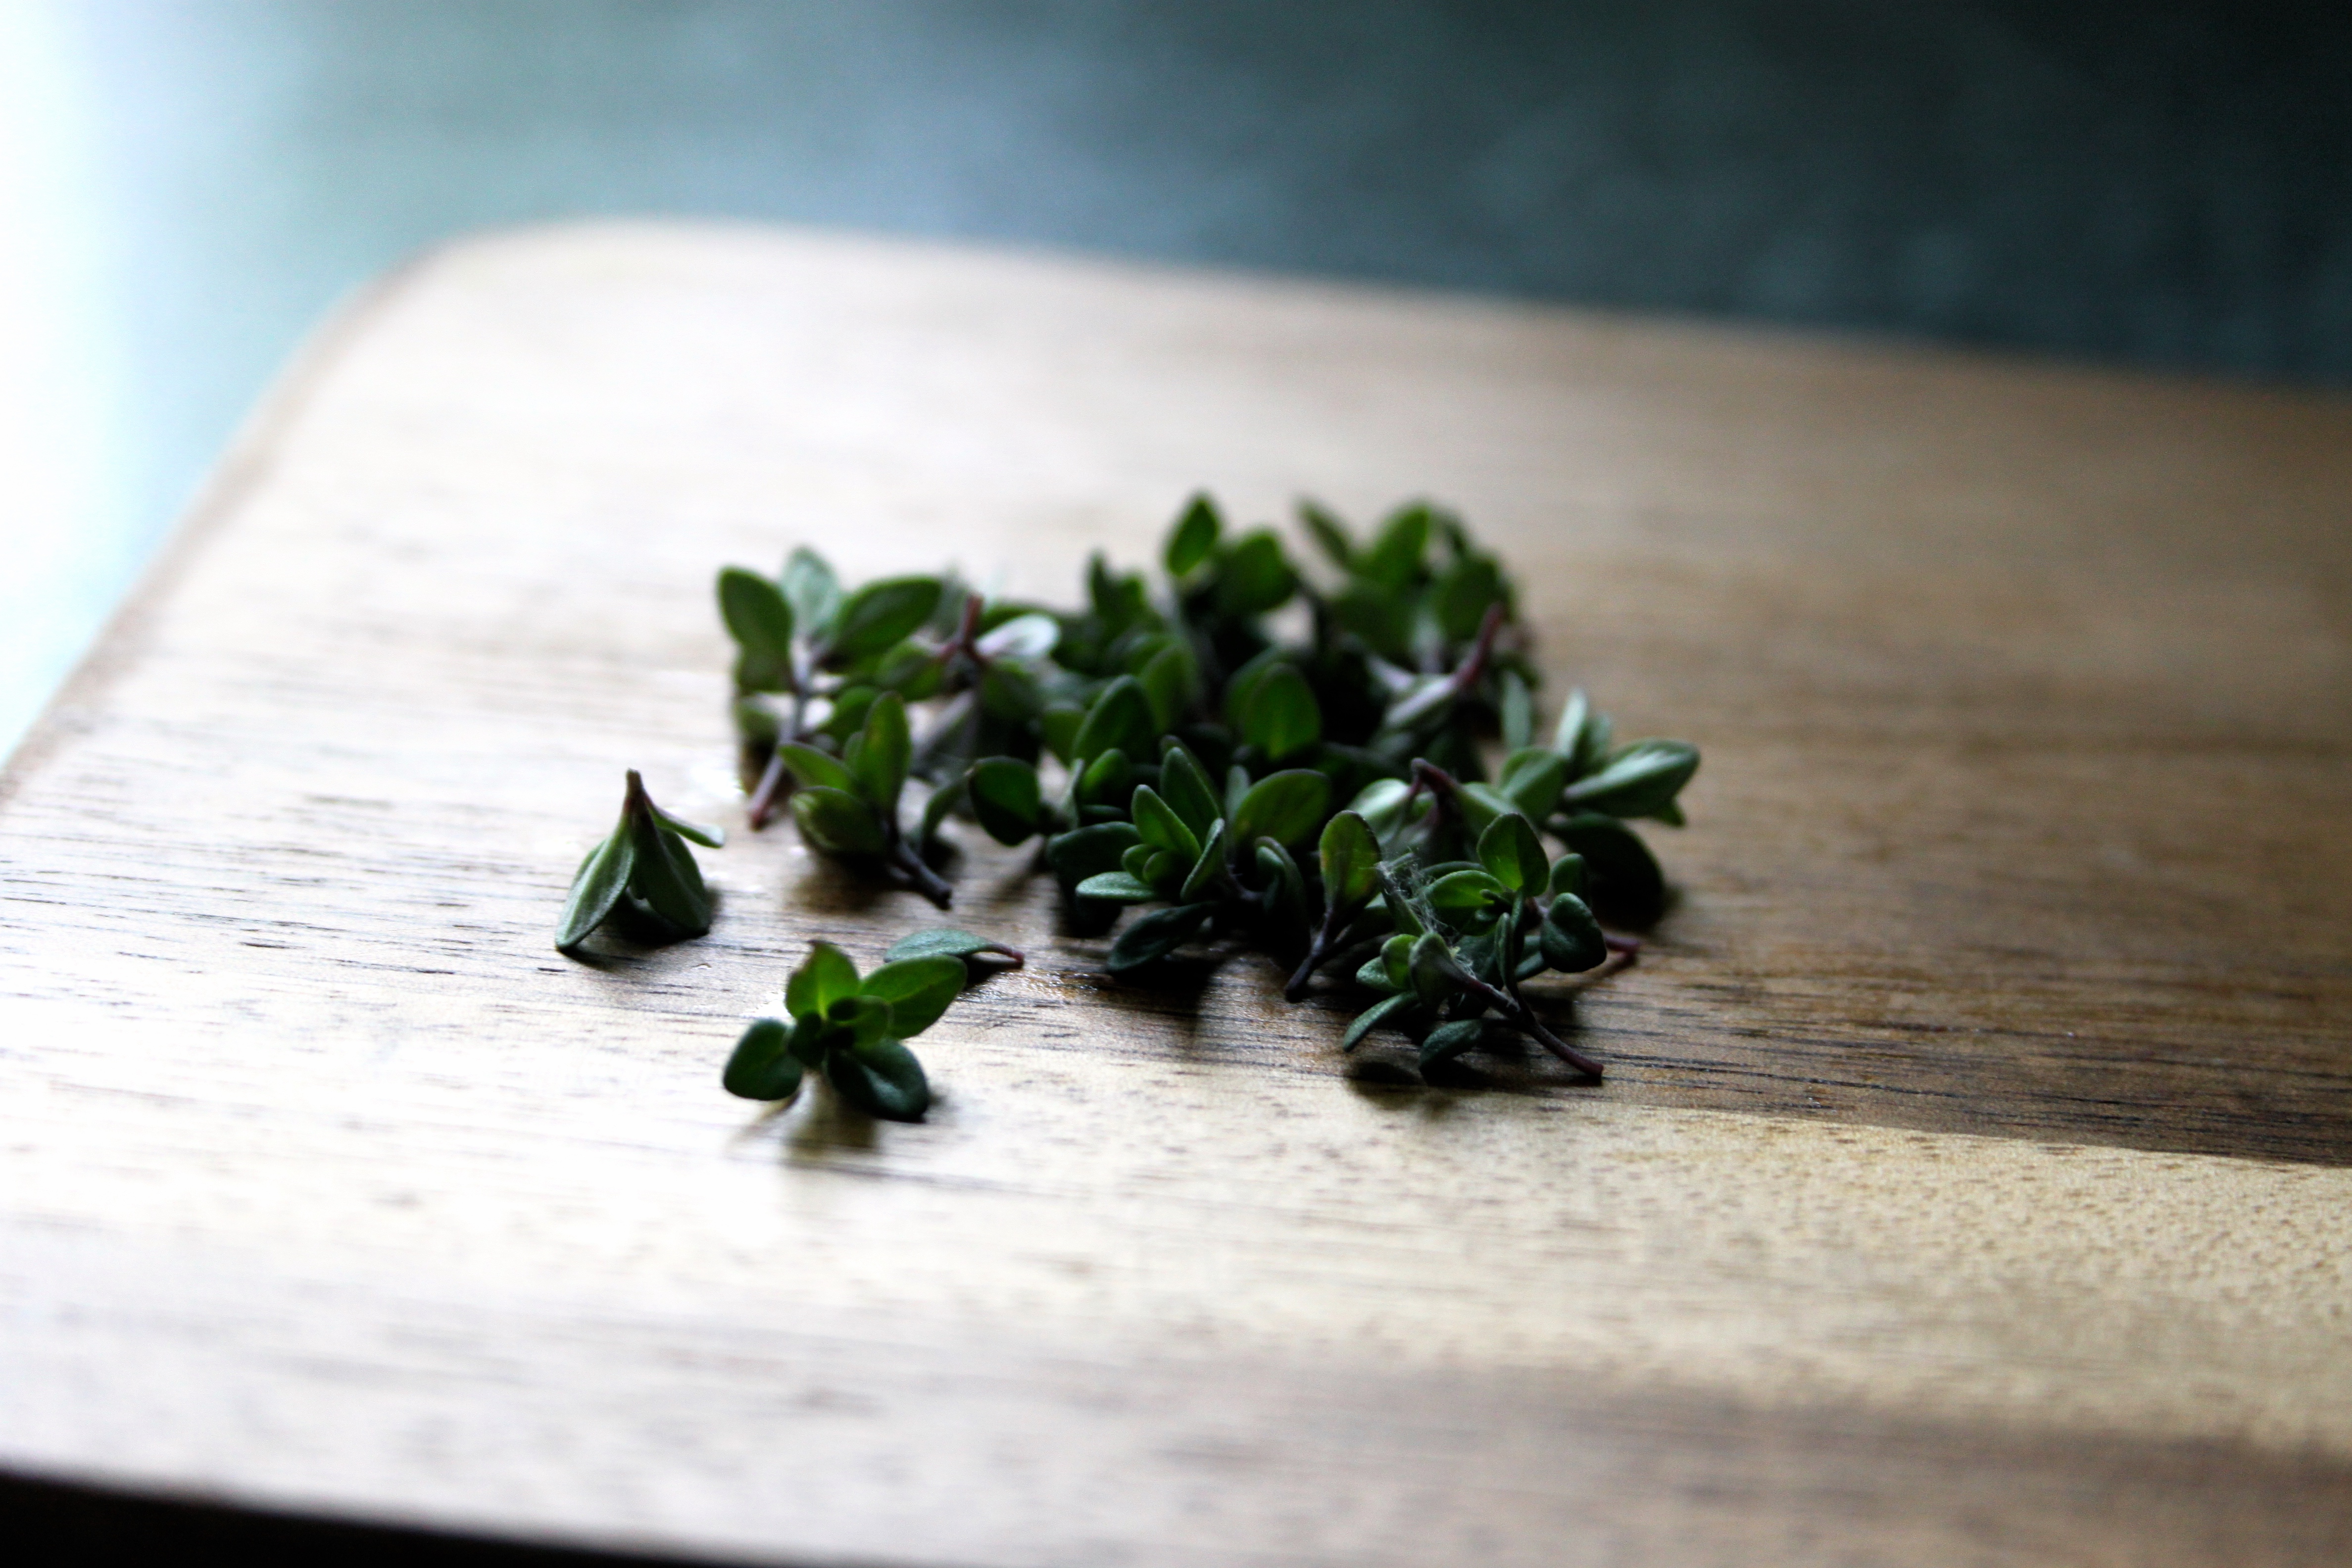
50gr unsalted butter 125ml water Two large pinches of  finely chopped lemon thyme, plus extra for serving/decoration Small pinch of salt 90gr plain flour 2 eggs Icing sugar, for dusting

Lemon Thyme Pets de Nonne 2

Method

1, Melt the butter in a medium sized saucepan and add in the water, lemon thyme and salt.  Bring to a gentle simmer over a low heat and then remove from the heat. Let this cool for a minute or two. 2, Add the flour in, in one go, and stir.  Place back over a low heat and keep on stirring with a spatula or wooden spoon until you have a very soft dough.  It should lift away from the sides of the pan and form a large lump; like this:

Lemon Thyme Pets de Nonne 3

3, Remove from the heat again and leave to cool for five minutes.  Crack in the eggs and whisk until you have a smooth paste like batter. 4, The batter need to be deep fried in 190o/c oil until golden brown.  Bring your oil up to heat and then carefully drop in teaspoons of the batter in.  I fried three at a time so I didn’t overcrowd the pan. 5, Drain onto kitchen paper, dust with icing sugar and sprinkle on more lemon thyme leaves.  Serve warm.

IMG_8489

I’m still, straight up, obsessed with that hot sauce I made a few weeks ago. You can find that post and recipe by clicking here.

IMG_8461

Although, I don’t think I told you just how obsessed I got when I was making it. Every couple of hours, I was in the kitchen looking at it (it was a bank holiday weekend, I had spare time, ok?).  I researched countless of recipes and googled everything about fermentation.  I posted more photos on Instagram of it than I have done on any one subject.

IMG_8466

That obsession has not dulled.

IMG_8478

Oh no, if anything it has got worse.  Because now I have become obsessed with putting that hot sauce on/in things. I give you, Hot Sauce Popcorn.  Sweet, spicy, crunchy, win.

Ingredients

85gr of popping corn
1tbsp oil
80gr butter
100gr soft light brown sugar
3tbsp hot sauce
1/2 tsp vanilla extract
1/2 tsp bicarbonate of soda
Pinch of salt

IMG_8487

Method

1, First, pop your corn by placing 1tbsp of oil (something like sunflower, rapeseed, coconut) into a large saucepan.  Set this over a medium heat and leave it to heat through.  If you drop a kernel in and it sizzles, just a tiny bit, then it’s ready.
2, Add in the popping corn, pop on the lid and give the whole thing a good shake, from side to side, to coat the corn.  Leave the lid on and after a minute or two this should start to pop. Immediately turn the heat down to low and shake the pan everything 15 to 20 seconds to prevent it from burning.  When the popping has slowed right down, tip into a large heatproof bowl. You can of course use microwave popcorn or ready made popcorn but you’ll have to eyeball how much you need from the photo before the ingredient list above.
3, Take a large baking sheet and cover with a silicone mat or greaseproof paper.  Turn on your oven to 120o/c.
4, Make the caramel coating next by melting the butter in a small saucepan.  Add in the sugar and gently simmer for a couple of minutes.  Remove from the heat and immediately whisk in the hot sauce, vanilla, bicarb and salt.
5, Add this caramel straight onto your popcorn and then toss with a spoon or spatula to cover it as best as possible.  Tip this onto your prepared baking sheet, spread out any large chunks and then bake for an hour.  You will need to toss it around every fifteen minutes or so, just to break up any big clumps.
6, After an hour, it should be golden as per the photo above, remove from the oven and leave to cool completely.  When it has cooled, again break it up any large clumps and enjoy.  Store in an airtight container, if you have leftovers. Ha. Leftovers. Lolz.

IMG_8501

IMG_8524

I put myself on a Diet Coke Detox. That shit was getting out of hand.

IMG_8504

Problem is, I miss it. So, so bad. I’ve been trying to fill that void with things all the water, sparkling water, fruit juices, almond milk, gin.

IMG_8508

I managed to get my grubby hands on a can of Cucumber Seltzer from a well known high street food chain.  As a premise, this sounded amazing.  In reality, it was just a bit yawn. I decided to try and DIY it.  This won’t last as long as one of the cans but fresh is best here.

IMG_8511

Ingredients

1 whole cucumber, peeled 200ml cold water 20gr caster sugar Teeny pinch of salt

Method

1, Grate the cucumber into a medium sized heat proof bowl.  I wouldn’t recommend doing this on a chopping board and then transferring it, cucumbers release a lot of wet when you grate them, and we want that juice.

2, In a small saucepan, combine the rest of the ingredients and set over a medium heat, stirring until the sugar and salt has dissolved. Bring this up to a gentle simmer, remove from the heat and pour over the grated cucumber.  Stir well.

IMG_8516

3, Cover this with clingfilm and leave to infuse for at least three hours.

4, Strain through a cheesecloth and squeeze out as much liquid as you can.  I got just over 250ml out of mine.

5, To serve: add a generous splash over ice and top with sparkling water.  You can use the skins to make fancy garnishes if you fancy.

Or you can, well, y’know…

IMG_8531

#GIN

IMG_3611

I will kill any houseplant that you put in front of me.  Currently, I am in possession of a very sad looking orchid.

I make up for this by having ok vegetable growing skills and being a cut flower aficionado.  I know about a million tips for cut flowers. I know how to revive roses, how to de-pollen lilies and which flowers are effectively cat poison (I’m looking at you chrysanthemums…)

IMG_3607

The most annoying part of cut flowers is when this happens.  When you have a mixed bunch and some crap out really quickly.  It’s tempting to throw the whole lot but I like to downsize mine into a little posy which can brighten any corner.  First, hike the whole bunch out of the vase and chuck out the dead one.

IMG_3608

You might have enough for a little posy but I like raiding my garden for extras.  Anything will do, even greenery.

IMG_3609

Trim everything down, arrange and tie with twine. Snip the bottoms and pop in a small vase or jug.  Ta-da.  Same flowers, new life. If only for a week or two. IMG_3614

IMG_8441

I believe in magic.  And condiments.
IMG_8419

How does horseradish have the power to turn a roast beef sandwich into something beautiful? How can mustard be so perfect? Who made red and brown sauce so impeccable?
IMG_8425

The answer is straight up magic.  Hot sauce is one of the best.

IMG_8433

Ingredients

200gr chillies (I bought mine from Sainsburys, their own brand red chillies. I asked them on twitter what variety they were as I chucked the packaging and they said they use a mix of Serenade, Fresno, Jalapeño, Hercules and Fire Flame)
2 red peppers
3 cloves of garlic
125ml water
3tbsp honey
1/2tbsp table salt
60ml white wine vinegar
Let’s talk about heat here.  Everyone is going to have different preferences on heat.  I like hot sauce that is actually edible and tastes of something. Nothing that is going to make me sweat or cry blood.  Preference is key here.  This is a mildly spicy hot sauce which is fairly fruity.  If you want to ramp it up then I’d recommend adding in a few extra hot chillies or something similar.

IMG_8423

Method

1, Chop off the stems of the chillis and roughly chop, seeds and all. De-stem and de-seed the red peppers, roughly chop these too. Remove the skins of the garlic cloves.  Stick the whole lot in a blender with the water, honey and salt and blitz until you have a pulpy mash.
2, Transfer this into a clean mason jar or a glass bowl and cover loosely with clingfilm.  This needs to now ferment.
3, It needs a minimum of three days.  Stir it daily and check on process.  It needs to be a bit bubbly. There is a video on my instagram page if you’re unsure. I did leave mine for three days, some people like to leave it for seven.  I am way to impatient for that. (I’ve killed numerous sourdough starters)
4, After three days, it should be bubbling away and have that telltale hot sauce smell.
IMG_8434
5, Transfer back into your blender, add in the vinegar and blitz until you can get this as smooth as possible. Work this through a fine sieve to give you a smooth sauce.
6, Stick this into a small saucepan and bring to a really gentle simmer.  Reduce the sauce down to your desired consistency.  I ended up with about 325ml.
7, Check for seasoning and pour the hot hot sauce into sterilised preserving jars or bottles.  This should keep for three months unopened, or four weeks opened.  Keep in the fridge once opened.  Put on all the things.

IMG_8439