I am one of those people. (You’re going to hate me.)
I started my Christmas shopping in September. No shame. Bought four presents in one afternoon.
We all know that some of the best parts of Christmas, actually are in the preparation, whether that be in September or December. Getting in the spirit with a Christmas Rat Pack album, scoffing an entire box of mince pies, and forcing your pets into santa hats.
Buying one of those sickly sweet smelling candles called “Sugar Cookie Dough” or “Sparkling Cranberry Ice”, having an in depth discussion about either having a goose or turkey, and getting one of those Christmas countdown apps on your phone.
Having a deep clean, sticking your head up into the loft to see if you can see your Christmas decorations, chucking a couple of bags of chocolate coins in with your food shop. Eying up the tins of Roses in the supermarket, hoarding gift bags and swooning over festive table runners.

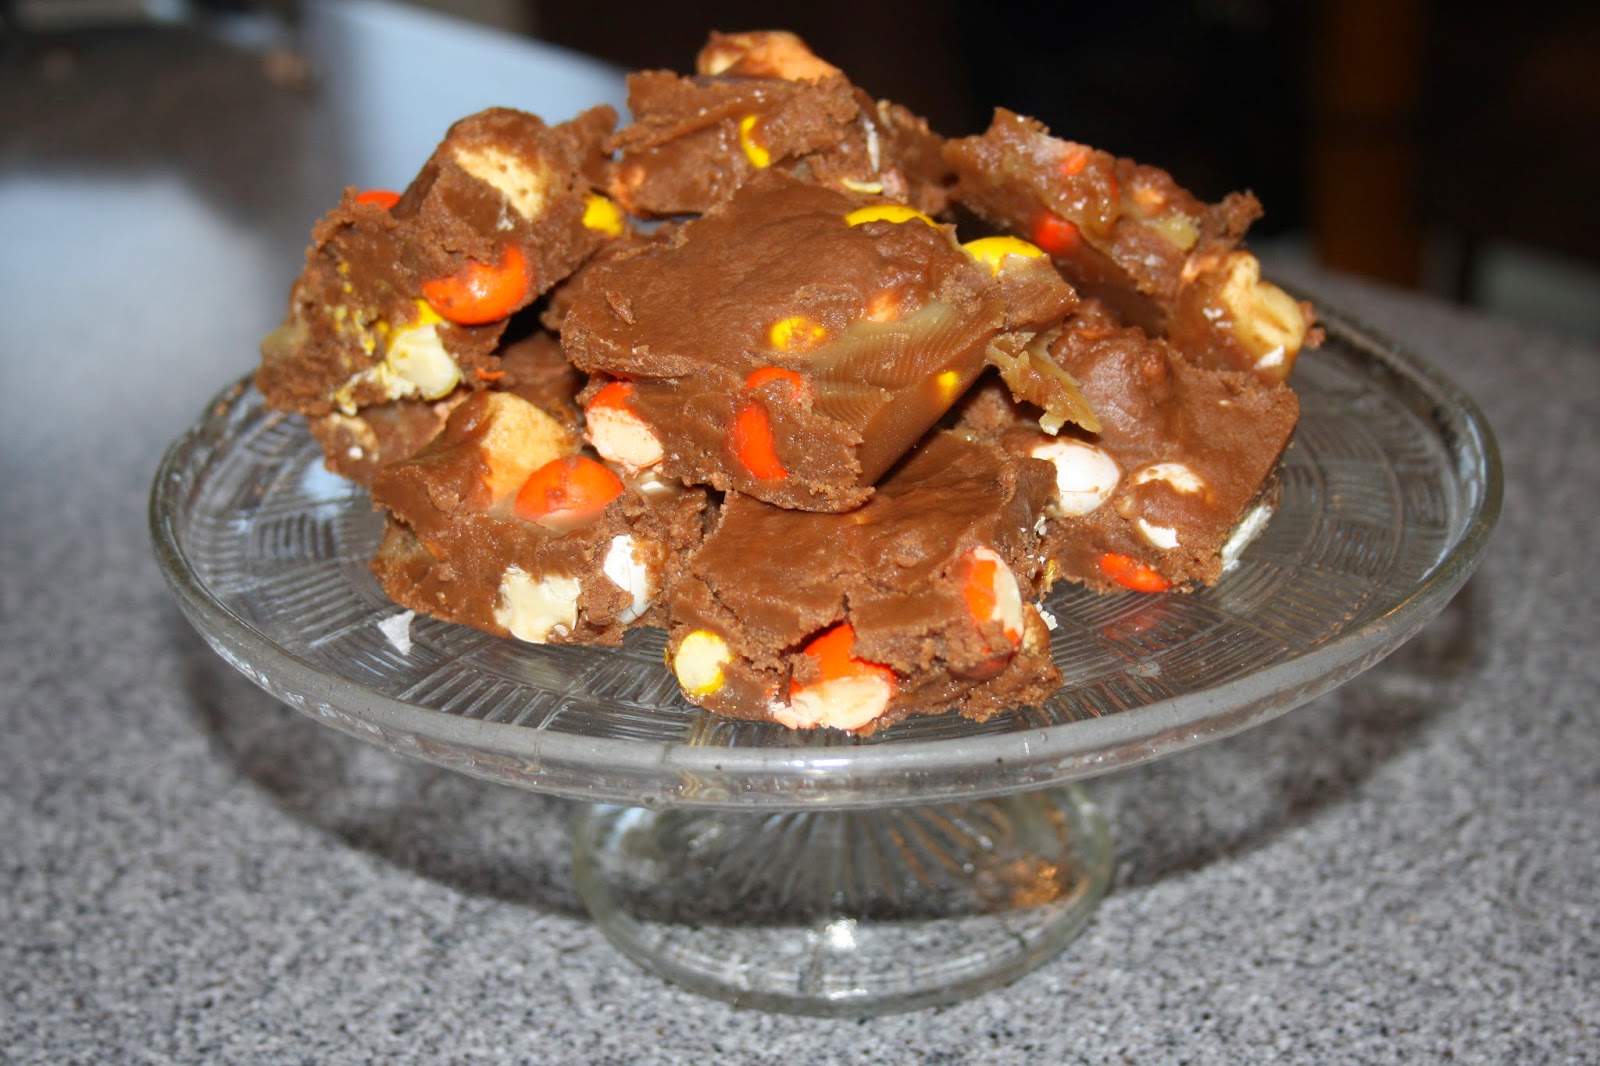
These cookies are the ultimate Christmas preparation item. The pressure to pull out home baked goodies when you are trying to wrap a thousand presents or wrestling the cat out of the Christmas tree is sometimes too much. With these, you can make them now when the waters are calm and stuff them in the freezer. Then just cut off what you want. Slap them on a tray. Bake. Pat your past self on the back for forward planning.
These will last a good couple of months in the freezer as long as you wrap them in greaseproof paper well and double up with cling film. Make sure you label them; I like to put the baking instructions on mine to make things doubly easy.

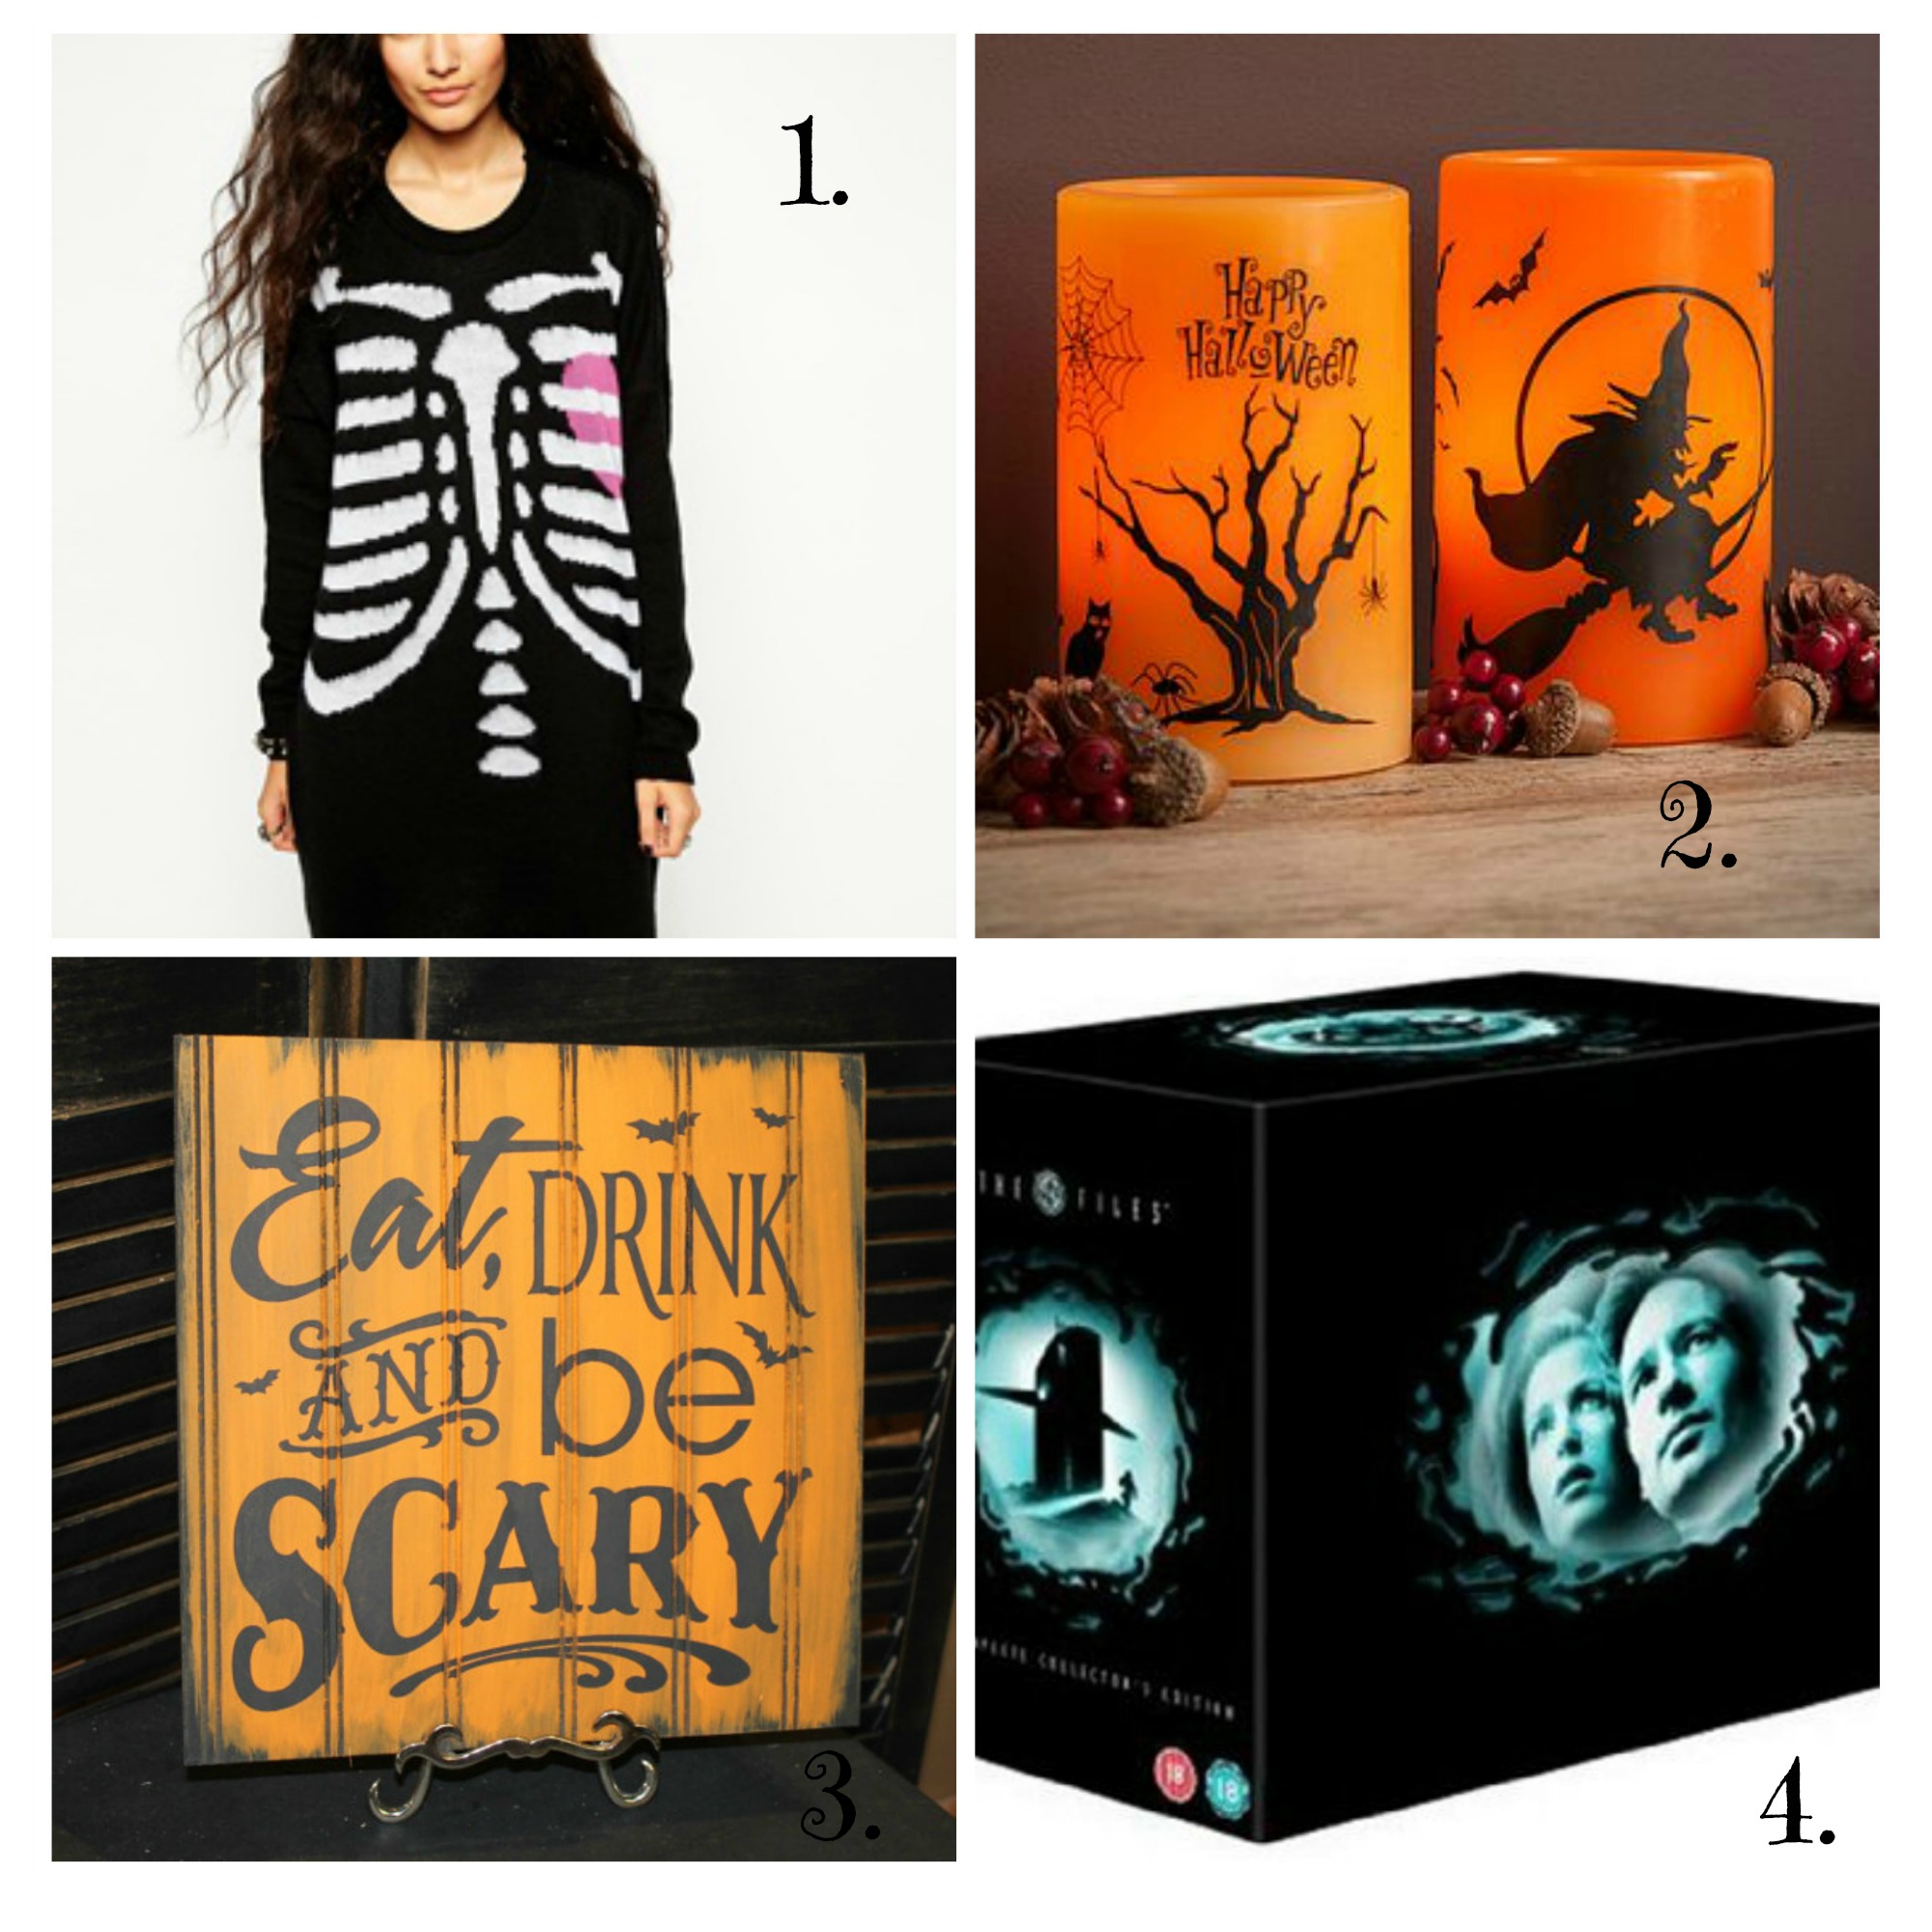
Dotcomgiftshop have asked their favourite bloggers to write a post about Christmas for a chance to win an iPad. Now is a much more socially acceptable time to start your Christmas shopping and Dotcomgiftshop have plenty of cool things to get you started.

Ingredients
140gr unsalted butter
140gr soft brown sugar
115gr caster sugar
1 egg
1tsp vanilla extract
240gr plain flour
1tsp baking powder
Small pinch of salt
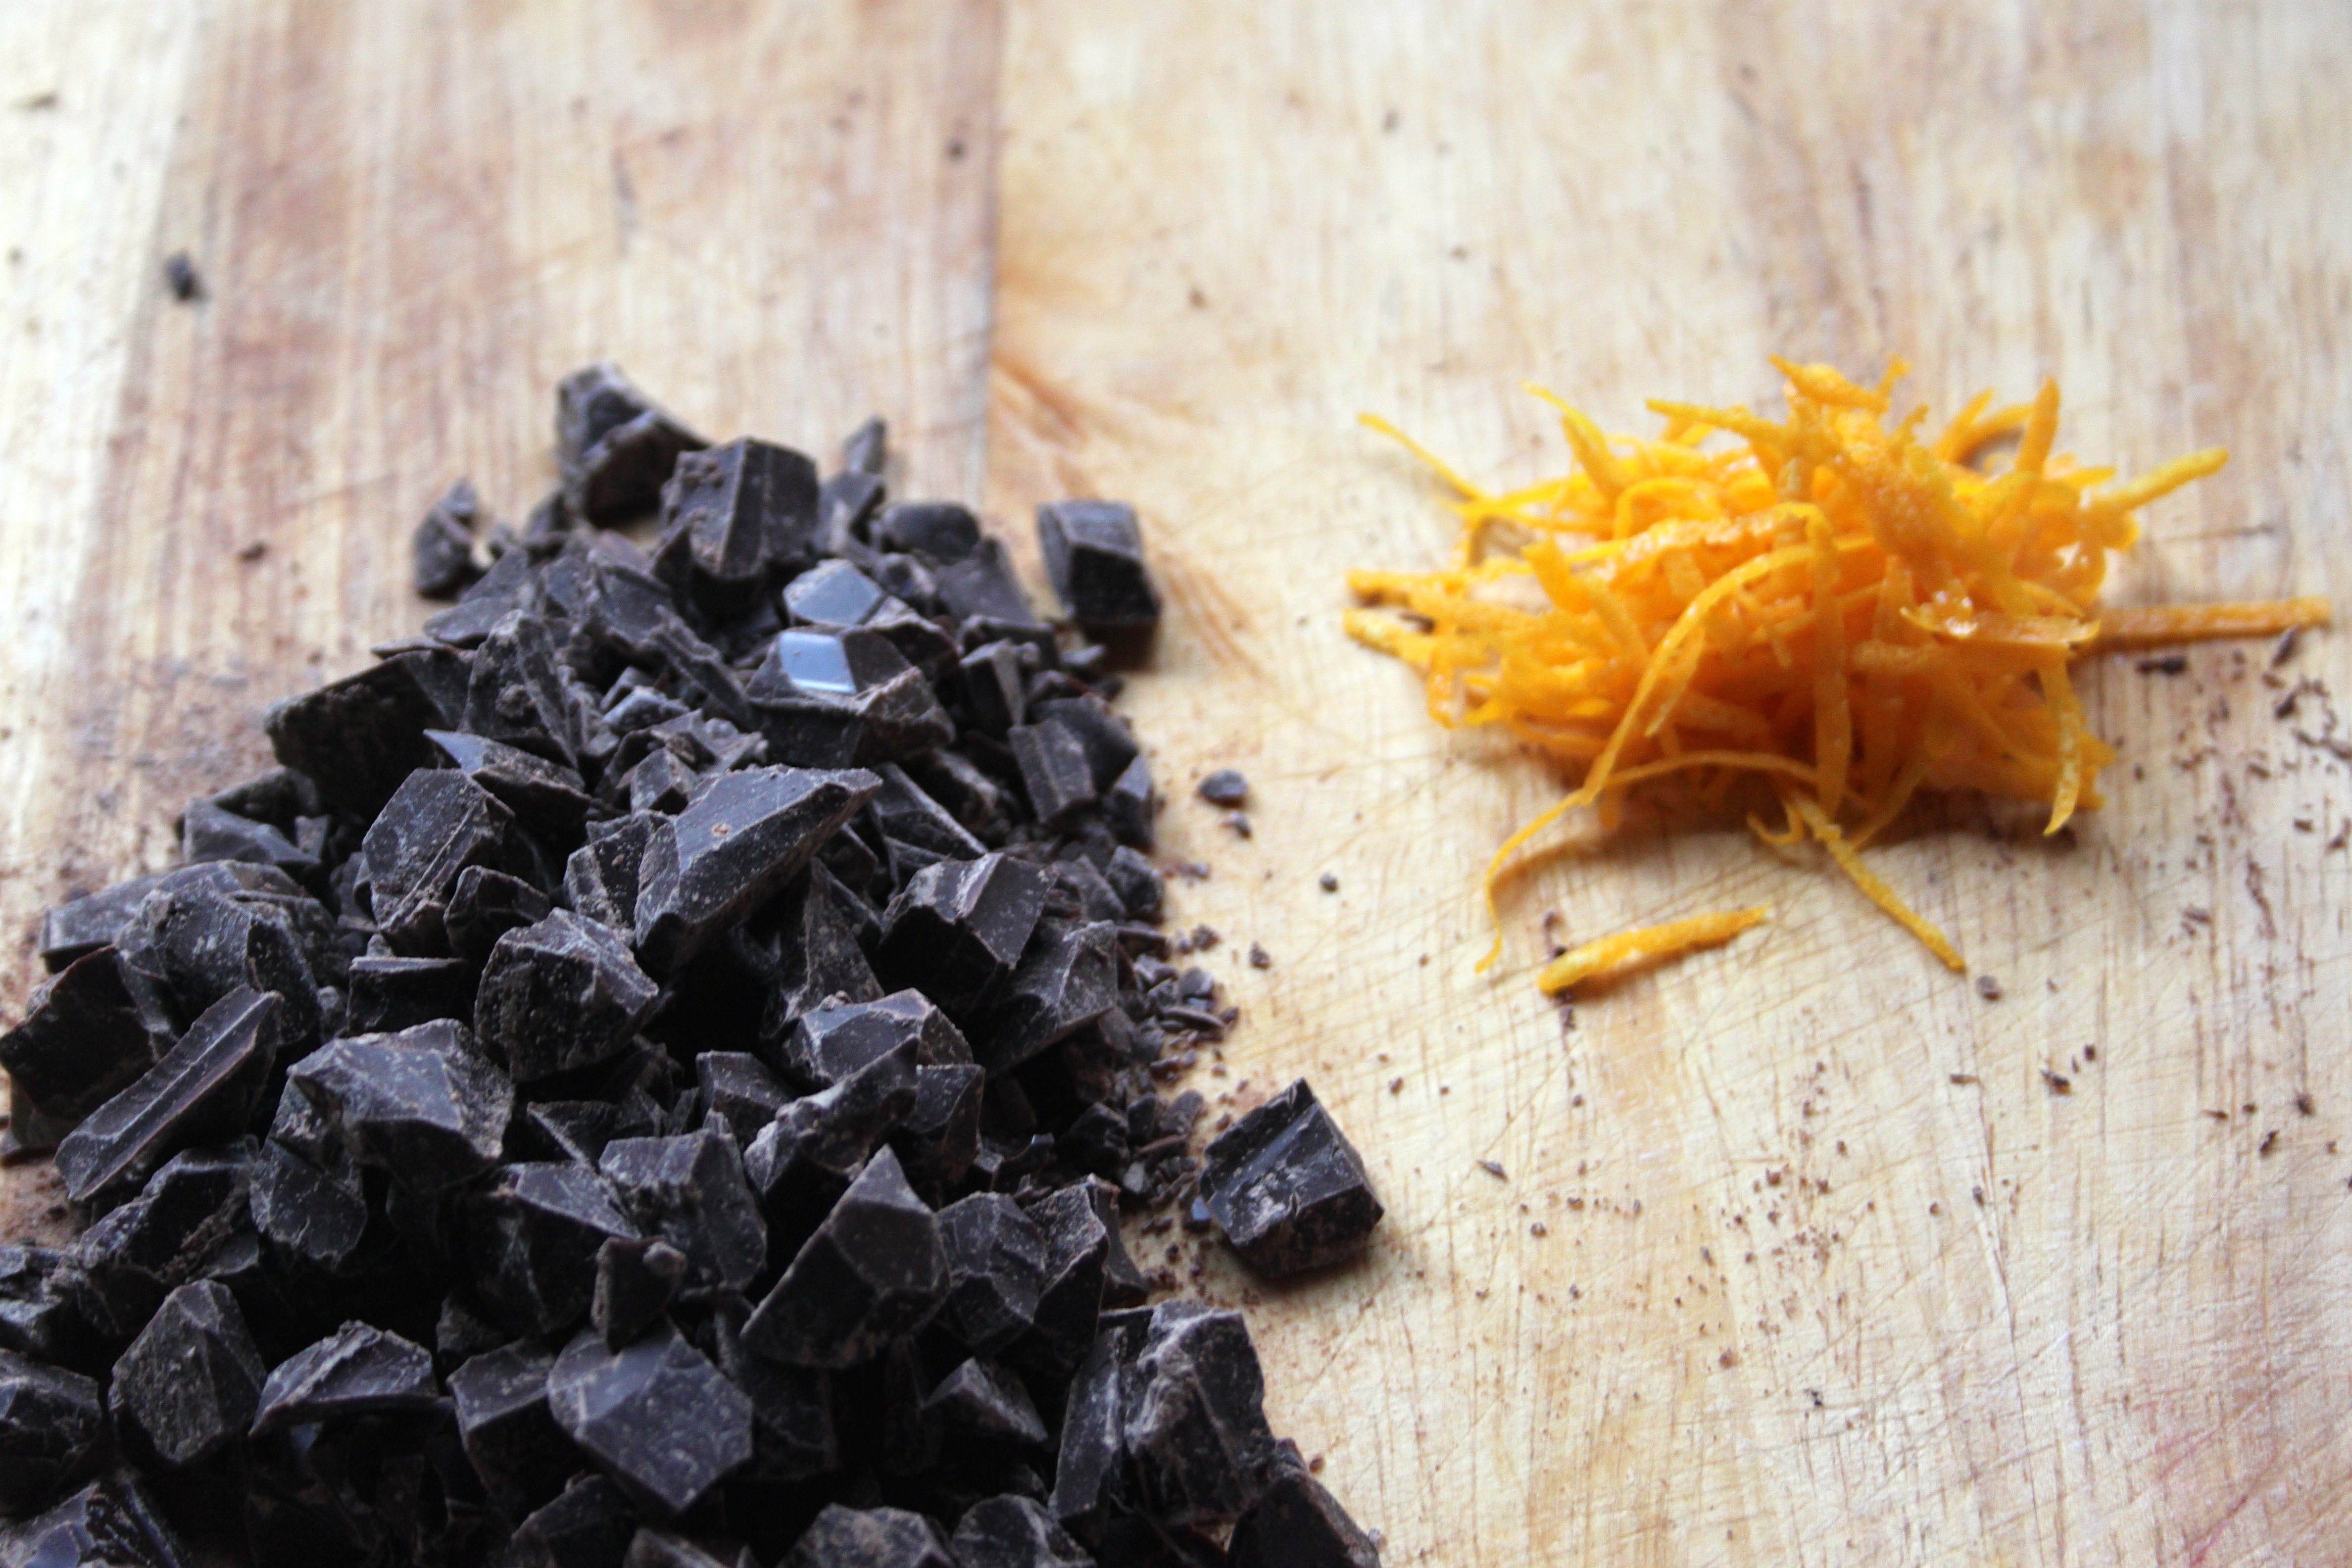
Zest of one orange
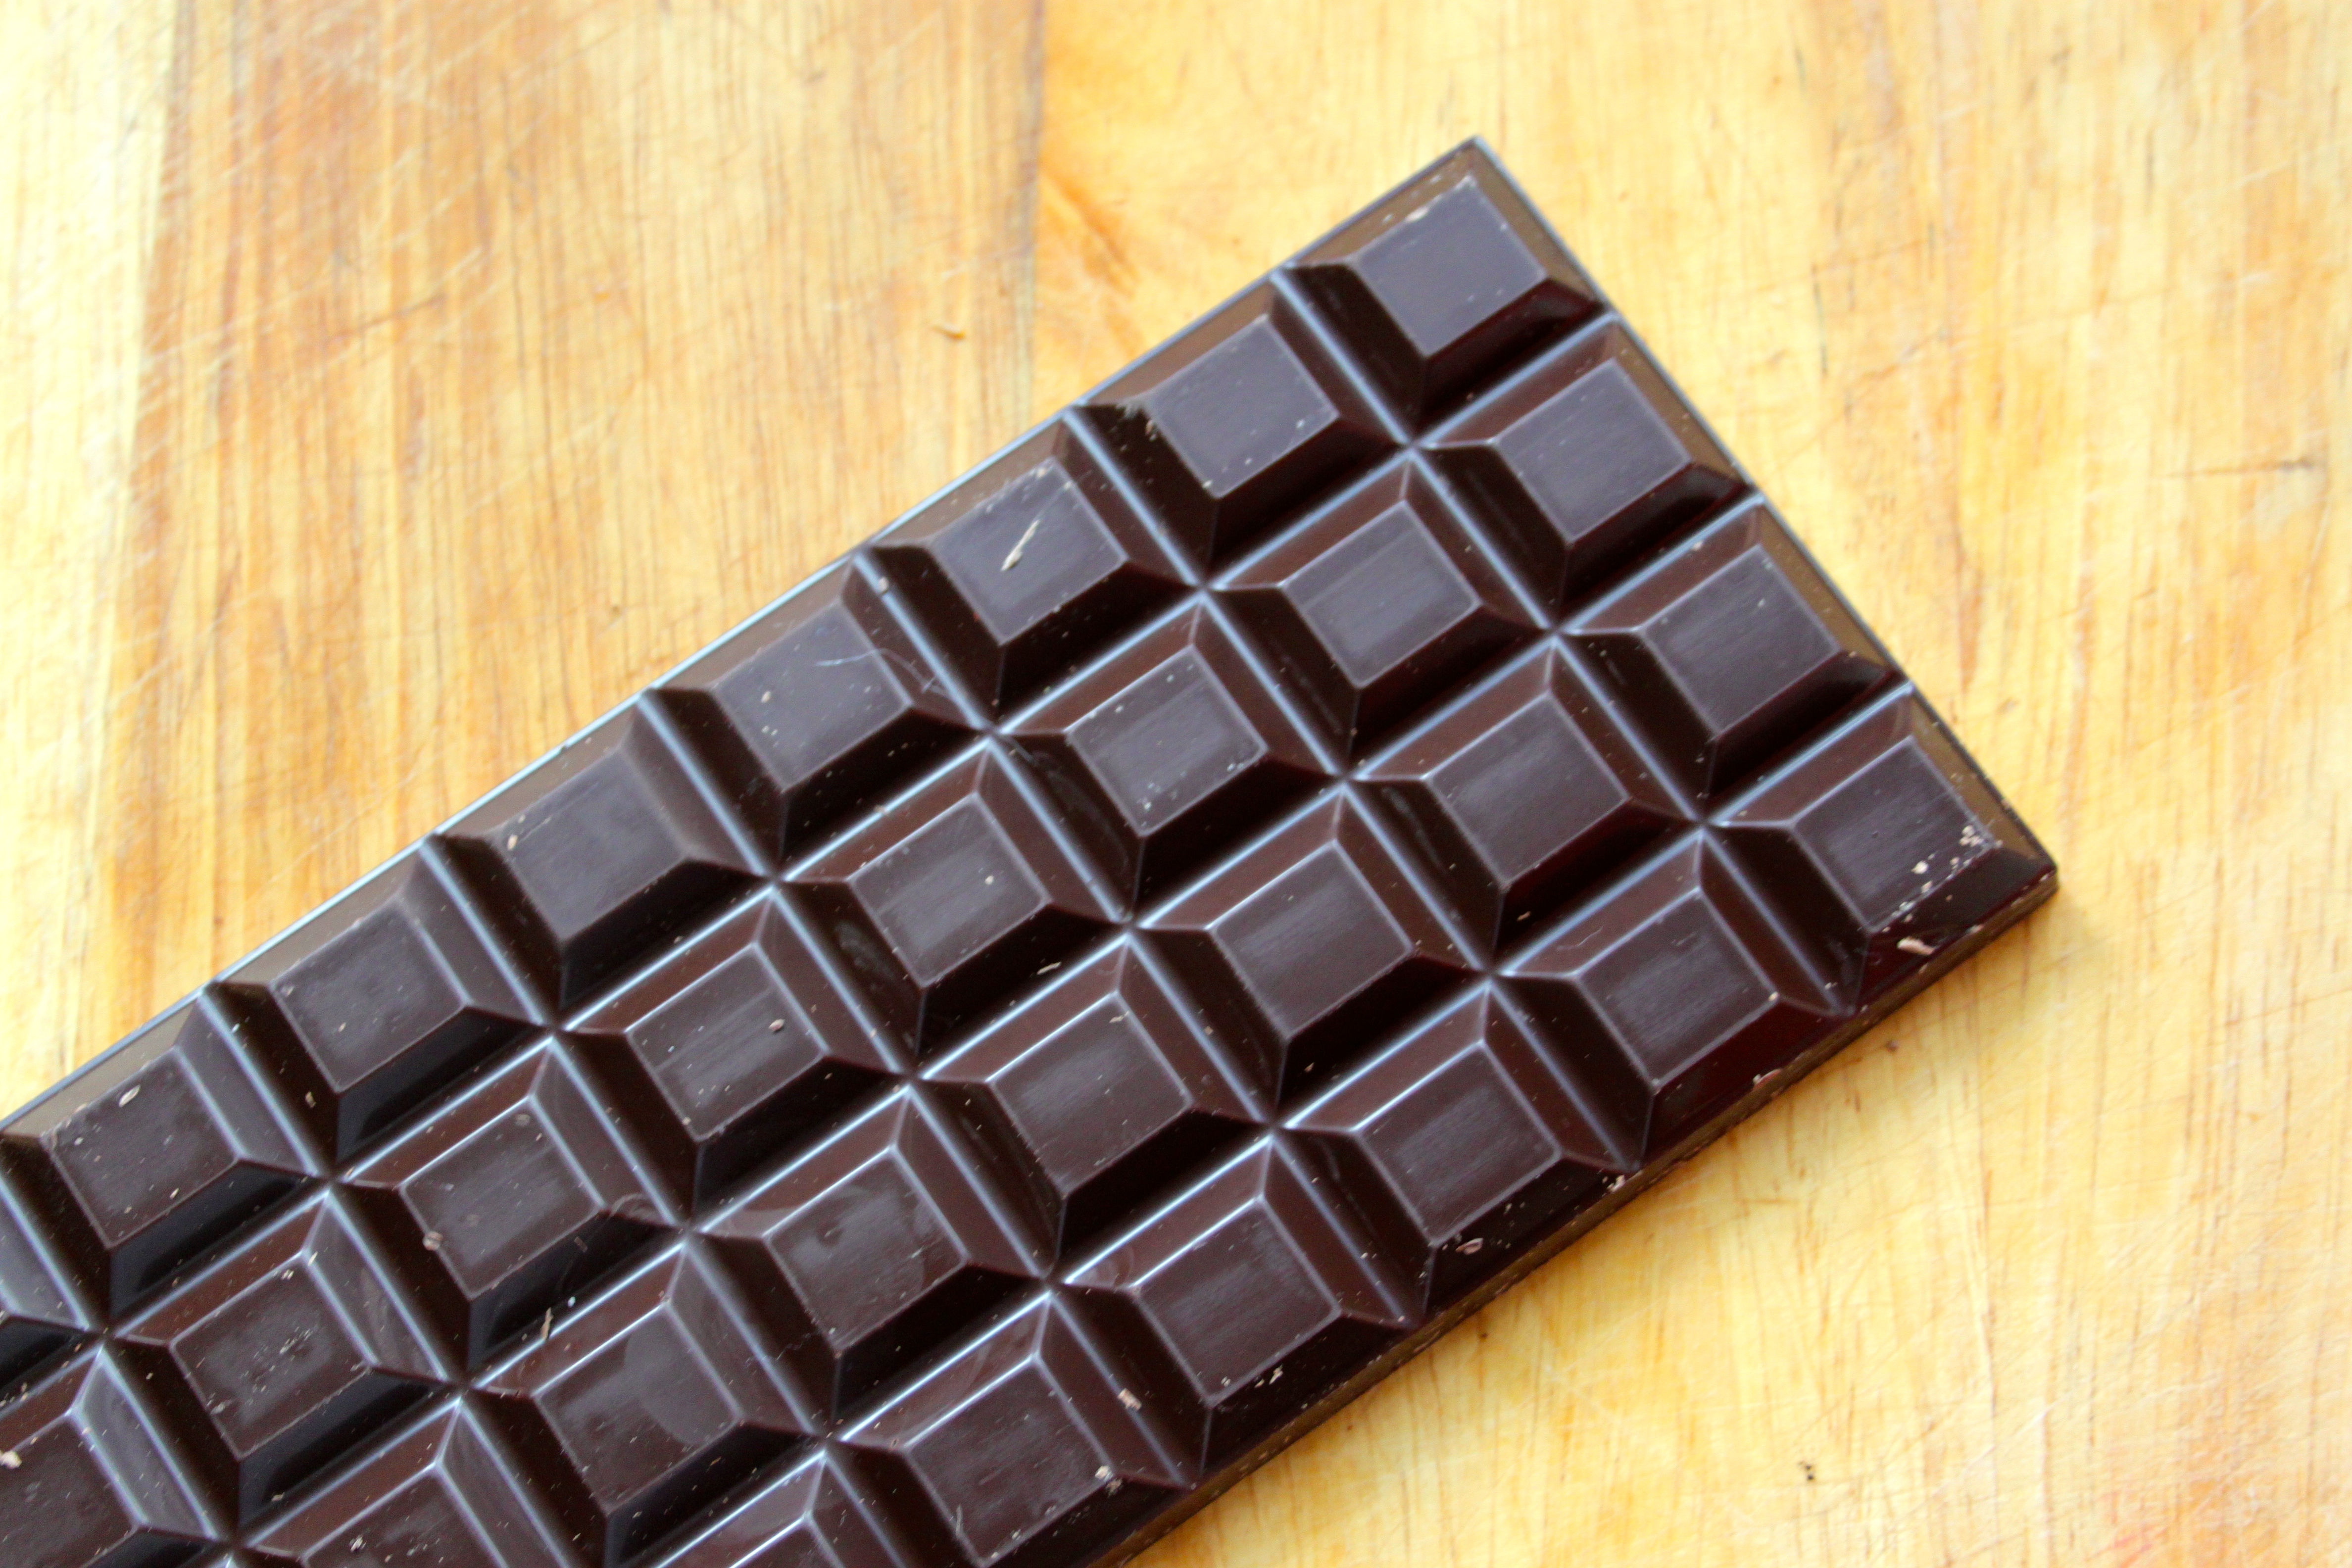
150gr dark chocolate, chopped into chunks

Method
1, Cream the butters and sugars together until pale and fluffy.
2, Add in the egg and vanilla extract and beat until combined
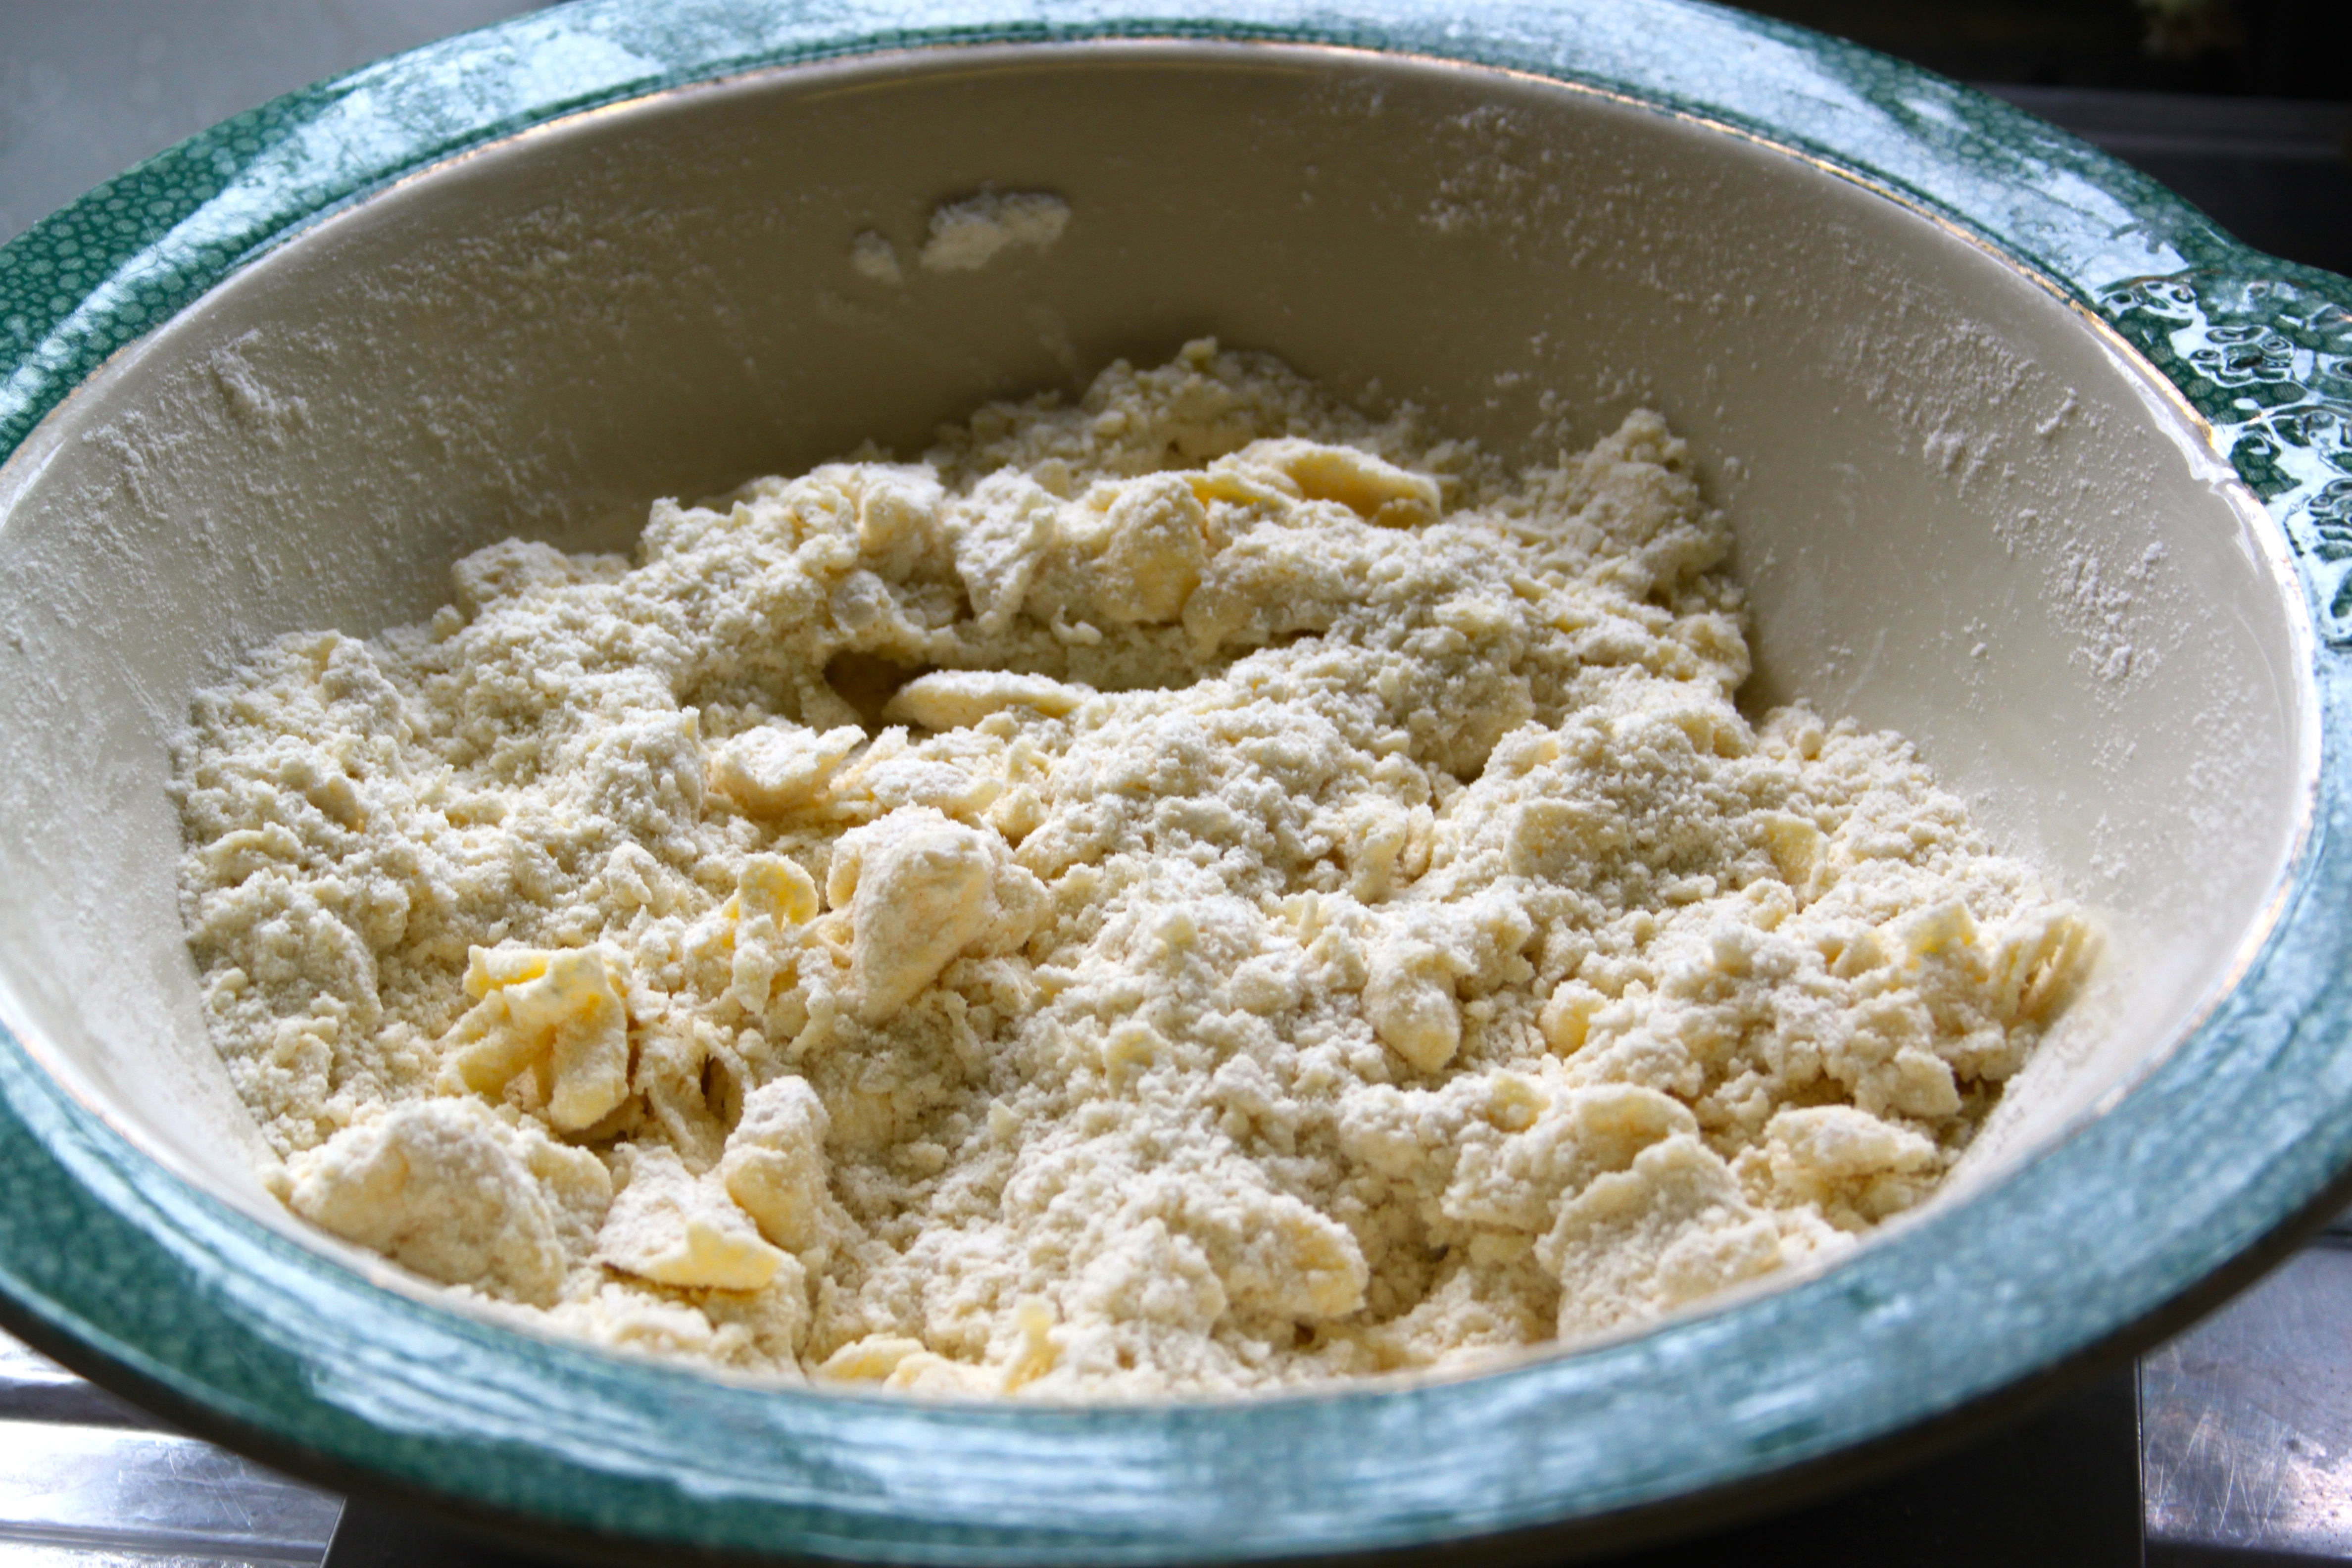
3, Add in the flour, baking powder and salt and bring together to form a soft dough.
4, Stir through the orange zest and chocolate chips.
5, Tip out half the dough onto a sheet of baking paper and form into a log about 20cm long. Wrap up well and then cover with cling film or foil before freezing.
6, To bake, slice the frozen log into 10 or 12 pieces and place them well apart on a lined baking sheet. Bake for 10-15 minutes in an oven preheated to 180o/c.
7, Let them cool on the baking sheet for a couple of minutes before moving onto a wire baking rack to cool a little more.