We_Should_Cocoa_V3

This month’s We Should Cocoa is hosted by Laura at I’d Much Rather Bake Than… who has challenged us to use coconut in our confections. Last month’s round ups can be found on the hosts blogs of the respective challenges – Choclette’s blog and Dom’s blog. You can read all about We Should Cocoa and how to enter by clicking here.

6.1

I pull my food apart before eating it* **
(*not in public)
(** not all my food)
6.2
Some items of food have a certain order in which their components should be eaten.
For example:
Jaffa Cakes: Chocolate -> sponge -> flabby orange jelly bit (bonus points if you wiggle this all up in of someone’s face so they say “ERGH, STAPH, that’s disgusting”)
I’m not going to list any more or go into great detail, because I’m pretty sure you’d think less of me…
6.3
My favourite one to do, when I was younger, was iced gems.  The biscuit bases would come off first and the piped icing tip would go back in the bag.  Then you’d have a bag of pretty much pure sugar nubs that dissolved when you sucked them.

6.4

I tried to recreate them but with meringue and chocolate. Because they are two of my favourite things. Plus they are a little bit less tooth achingly sweet.

Ingredients
Meringue Tops
2 egg whites
100gr caster sugar
2 drops white wine vinegar
Biscuit Bottoms
120gr room temperature butter
140gr caster sugar
1 egg
1/4 tsp coconut extract
200gr plain flour
20gr toasted dessicated coconut
Tiny pinch of salt
6.5
Method
1, First, make the meringue.  These can be made in advance and stored in an airtight container somewhere cool for a week. Or you can freeze them. Meringue magic.
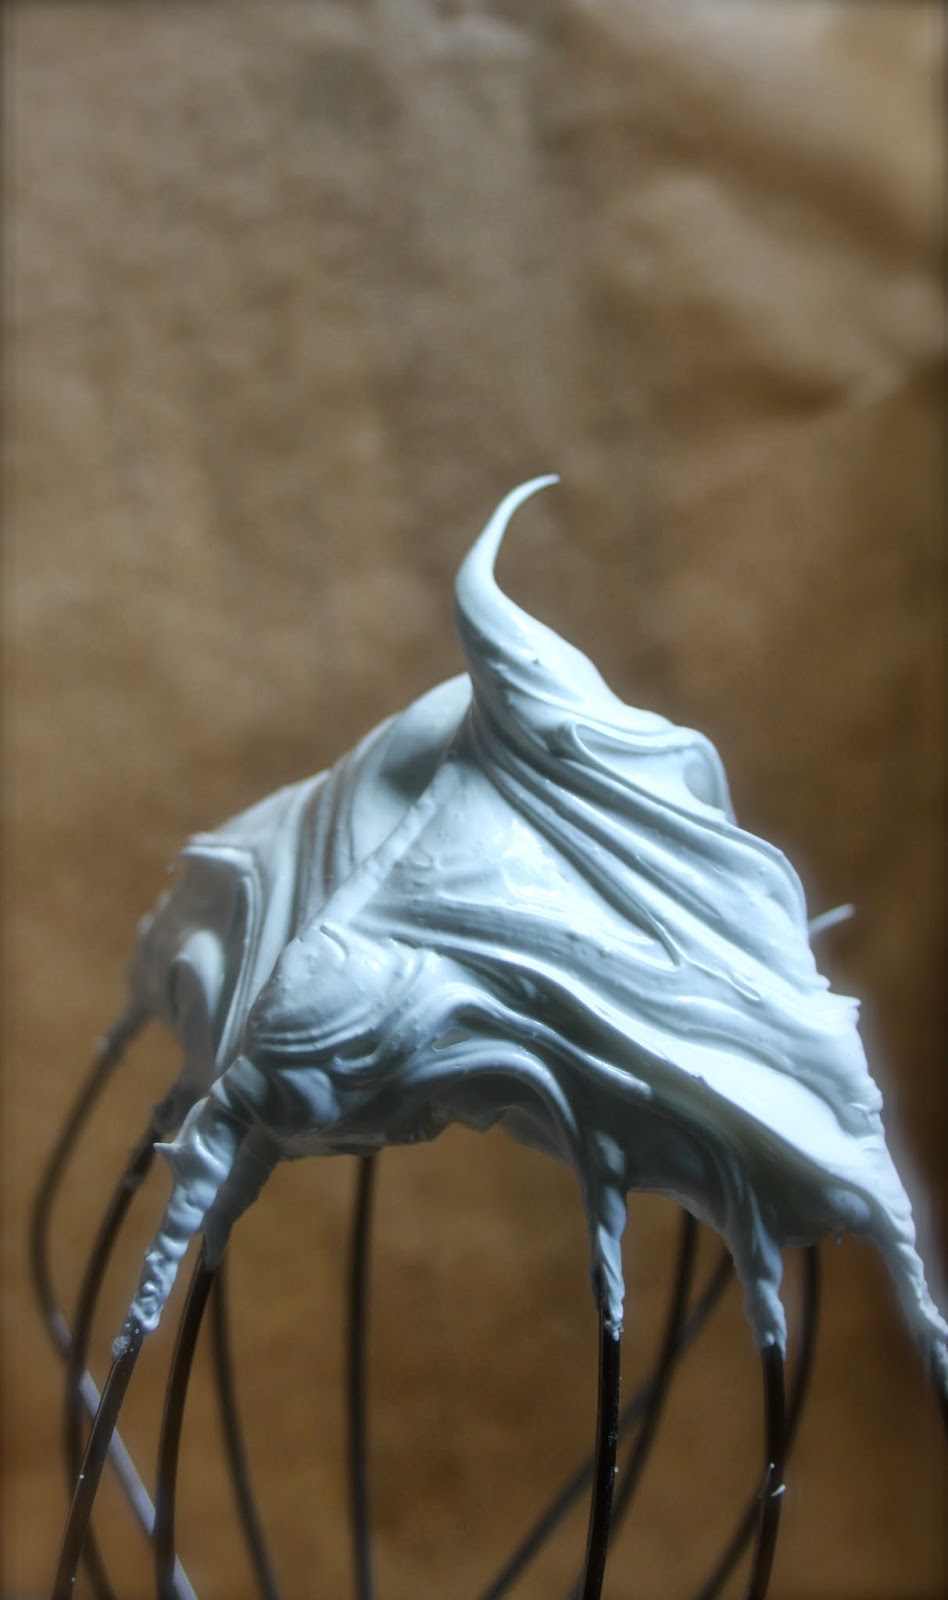
2, Beat the egg whites until they start to foam up and double in size.  With the beaters running, slowly add in the caster sugar and drop in that vinegar.  This now needs to be beaten until it is a thick glossy white.  See beater for reference.
3, Decant into a piping bag fitted with a star tip (size is up to you, you could make giant ones) and pipe little rosettes onto lined baking sheets. Mine were roughly 1.5cm across.
4, Preheat your oven to 100o/c and bake these for an hour.  When the timer has gone off, turn off the oven and leave it to go completely cold with the meringues still inside.
5, Make the biscuit based next by creaming the butter and sugar together until pale and fluffy.
6, Beat in the egg and coconut extract.
7, Sift in the flour and salt, and add in the toasted coconut bring together into a ball of dough.
8, This needs to rest in the fridge for at least an hour before rolling out.  It may seem a little sticky but will firm up in the fridge.
9, Preheat your oven to 190o/c and line two more baking sheets with greaseproof.
10, Roll out the dough on a lightly floured work surface to around 3-5mm and cut out the biscuits that are just a bit bigger than the bases of the meringues.  I used a Diet Coke bottle lid.
11, Place these onto the lined baking sheets and bake for 5-7minutes or until they are just going golden brown.  These biscuit bottoms barely spread so will keep their shape quite well whilst baking.
12, Transfer the cooked biscuits onto a wire cooling rack and leave until completely cold.
13, To assemble, melt the chocolate, dip the flat base of the meringue in the chocolate and then stick onto the centre of a biscuit. Leave to set somewhere cool (but not the fridge). Store in an airtight container.
6.6

This recipe and text was originally posted on Corner Cottage Bakery.  You can see the original post here.

Why is this post now here? Click here to read all about my move from Corner Cottage Bakery to Honey & Dough.

5.1

In the past four weeks I have broken the following: two pairs of boots, one pair of ballet pumps, my iPad cover, my iPhone, a mug, a zip on a skirt, the little pouch in my running gloves that holds a key, the lining of one of my coat pockets and (of course) that pudding.

I’ve been like a one woman hurricane of devastation.
5.2
But there is one thing that is hard to mess up.  One thing that will make you feel better if all of a sudden you realise your superpower is destroying things.
That thing is tiny pancakes. And buying replacement shoes.  We’ll stick with pancakes here though.
5.3
Serves 2 hungry people
Ingredients
150gr plain flour
1tsp baking powder
150ml milk
3tbsp honey (plus extra for serving)
1/2tsp vanilla extract
1 egg
1 tbsp melted butter (plus a little extra)
5.4
Method
1, Sift the flour and baking powder together into a bowl.
2, Beat the remaining ingredients together until smooth and then pour into your flour.
3, Whisk until completely smooth.
4, In a large non-stick frying pan, melt a little more butter (or cooking oil) and place over a medium heat.
5, Drop scooped teaspoons of the mixture into the pan and gently edge them into a circle around 4cm across.
6, Cook until golden on one side and their are bubbled popping on the top. Flip them over carefully and cook until that side is also golden brown. Repeat until you have used up all your batter.
7, Keep warm in a low oven until you are ready to serve with more honey.

This recipe and text was originally posted on Corner Cottage Bakery.  You can see the original post here.

Why is this post now here? Click here to read all about my move from Corner Cottage Bakery to Honey & Dough.

This month, We Should Cocoa has joined forces with Random Recipes.

44

You can check out both challenges and how to enter here for We Should Cocoa and here for Random Recipes.  The premise is that you select a random cookbook, select a random page and cook it, this time with the added caveat of chocolate.  I divided mine between sweet and savoury and landed on this beast which I bought from an Oxfam bookshop in 2006.  You can see the last We Should Cocoa round up here.

4.1

And subsequently landed on the offering of page 91 – Magic Chocolate Mud Pudding.

Which is a lie.
There is nothing magical about this pudding.
4.2
Maybe it could be renamed Hot Mess Pudding.  Because that is what I was left with after cooking it.
It doesn’t have many redeeming features.  It’s supposed to be one of those self saucing puddings but the sponge to sauce ratio is awful.  This a crime against my people.

You find an adequately sized oven proof dish which you know is adequately sized because you actually bothered to measure it.  You then make a very liquidy batter made of butter, light brown sugar, milk, cocoa powder, flour and cinnamon and then sprinkle over a combination of cocoa powder mixed with more light brown sugar.  The last part of this is important to note.

4.3
We then stick on the rest of the milk and put it in the oven.
4.4
The recommended cooking time for this is 45 to 50 minutes.  No lie. I actually cooked mine for less.
And I still ended up with this.
4.5
I seriously want you to make eye contact with this.  Look at that delicious *gulp* looking monstrosity of burnt sugar mixed with cocoa on top.
Look at how it has spewed over the edges of your oven proof dish despite it being adequately sized which you know because you measured it.
4.6
Do you see sauce? No. No, you don’t. The sauce is a lie.
The recipe calls for one whole teaspoon of cinnamon. Which you think might give it some flavour but again, no. The sponge part could have been redeeming but it wasn’t rich or even “luscious” as the book states.  I thought I had ballsed up* (*technical term) the recipe. Missed an egg or more butter but I genuinely didn’t.
4.7
Fail.

This recipe and text was originally posted on Corner Cottage Bakery.  You can see the original post here.

Why is this post now here? Click here to read all about my move from Corner Cottage Bakery to Honey & Dough.

3.1

 I have a list of commuter gripes, as long as both my arms.

Of all the sneezing, the pushing, the high-pitched giggling of a forty year old woman before 7am, the newspaper flapping, table hogging, crap drum and bass being played through tinny headphones, there is one time that I actually enjoy getting on the train.

And that is when it’s foggy.

3.2

The train shunts through a tunnel of grey mist and you can’t see past the scraggly weeds that border the tracks.  Stations appear out of nowhere. You only know you’re clattering over bridges by the sound and the rush of cars passing underneath.

Approaching the city, you can’t see the tops of the buildings. Everything looks muffled and a bit quiet. It’s lovely.

To satisfy my inner love of fog, I was googling pictures of a foggy London (this is the best list I found) and this “tea latte” appeared. And I have no idea these even existed but apparently its a thing in America. Earl Grey tea with steamed milk and sweetened with vanilla syrup.

3.3

They are really simple to make.  You will need half a cup of strongly brewed Earl Grey Tea. I made mine in a small teapot with four tea bags, as the tea will go bitter if you brew it for too long.  Fill the cup up with steamed and frothed hot whole milk and stir vanilla syrup to taste.

3.4

Just as a side note, it’s a perfectly nice and tasty drink and I tried really hard to like it, but I just couldn’t. It boils down to the simple fact that this goes against everything I know and like about tea.
Who puts syrup in tea?
I’m pretty sure I committed a crime doing this on English soil…

This recipe and text was originally posted on Corner Cottage Bakery.  You can see the original post here.

Why is this post now here? Click here to read all about my move from Corner Cottage Bakery to Honey & Dough.

Kentish Ale Doughnuts

Last year, I gave you Jasmine Green Tea Macarons for Valentine’s Day. I talked about how it can all be a bit brash and over the top. I went delicate and about as fancy as I get.

2.2

This year, I’ve steered away from the fancy. Doughnuts. Deep fried. Made with a comically named ale which I definitely picked for it’s smooth malt flavour and not the fact it said Friggin on the bottle. Proper man doughnuts.

2.3

Based on this recipe
Ingredients
Doughnuts
 
340gr strong white bread flour
50gr caster sugar
1tsp table salt
1 x 7g fast action dried yeast (1 sachet)
190ml ale (I used Friggin in the Riggin from the Nelson Brewery in Kent) plus extra for the glaze (see below)
1/2tsp vanilla extract
3 egg yolks
65ml thick Greek yoghurt
60gr melted butter
Glaze
100gr icing sugar, sifted
60ml ale
2.4
Method
1, Sift the flour, sugar, salt and yeast into the bowl of a stand mixer.  Fit a dough hook attachment and give it a quick blend to mix it all together.
2, In a small saucepan, heat the ale gently to body temperature.
3, Turn the stand mixer on to a medium speed and then slowly pour in the ale.
4, Still with the mixer running add in the egg yolks, one at a time, followed by the yoghurt and then the melted butter.
5, This is a really wet dough and it needs to be “kneaded” until its springy and elastic. This is why I made mine in a stand mixer.  You probably could do this on the worktop with a dough scraper but it will be one hell of an arm work out.  It will lose some of the stickiness but not all of it.
6, Transfer into an large oiled bowl, cover with oiled cling film and leave on your kitchen counter, at room temperature, until it rises and doubles in size.
2.5
7, When the dough has risen, turn it out onto floured work top. Sprinkle a little more flour on top and flattened with your hands until it is just under an inch thick, you won’t need a rolling pin as the dough is very soft.  Loosely cover with cling film and leave for 10 minutes while we sort out the oil.
8, Fill a wok, large saucepan or deep frying pan with about 2-3inches of flavourless cooking oil.  Clip on a thermometer because it’s really important to keep the temperature of the oil constant, it heats up ridiculously quickly and if you cook a doughnut in it will brown up very quickly and still be raw in the middle. A crime against doughnuts.
9, You need to bring the oil temperature up to 180o/c. Keep an eye on the thermometer, as you fry the amount of oil will decrease so will heat up faster.  You might need to top up the oil.
10, When you’re ready start frying, uncover the dough, gently pat back down to just under an inch, cut out your shapes, I made rings and doughnut holes and fry on each side until golden brown.  Put straight onto a wire cooling rack covered with kitchen towels.
11, Make the glaze by mixing the icing sugar and ale together until smooth and lump free.  When the doughnuts are completely cold, dip the top in the glaze, give it a little shake to remove the excess and place on a wire cooling rack so the rest of the excess can drip off.  You can double dip them after the first layer of glaze has dried a little.
2.6

This recipe and text was originally posted on Corner Cottage Bakery.  You can see the original post here.

Why is this post now here? Click here to read all about my move from Corner Cottage Bakery to Honey & Dough.